Tuesday, July 14, 2020

Forever Blossoms - The Spot Challenge #119

Hello and welcome to my blog; today I am here to share with you my card for this week’s Creative Challenge over at The Spot.  This week we have a fun little color challenge for you to play along with.  The card that I designed for this week’s color challenge started out as a completely different card than what I ended up with.  I designed a different card to use but the more I thought about my original card today the less I liked it.  So, at the last minute I scrapped my card and created a completely new one and I love what I came up with.  Here is a look at my new card for this week’s challenge. 


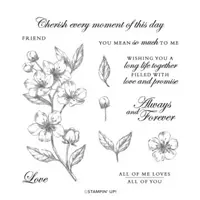
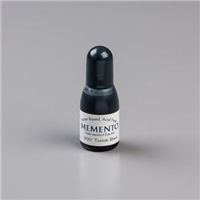
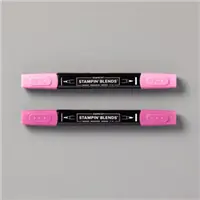
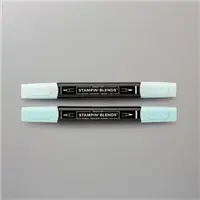
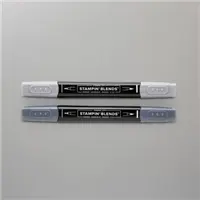
On my new card I started out by using my Stamparatus and stamped the floral image from the Forever Blossoms Stamp set in Tuxedo Black ink.  I stamped it twice on the same sheet of Thick Whisper White Cardstock by turning it around to the other side.  I then took my Stampin’ Blends in Pool Party, Magenta Madness, and Basic Black to do my coloring. 


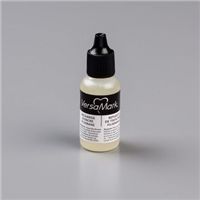
I debated if I wanted to color each floral image the same way or change it up slightly but ended up deciding that it would be better for my design if they were colored the same.  Once all my color was complete, I put my stamped images back into my Stamparatus and stamped the images again in Versamark Ink.  I made sure to leave my stamp in the same position as when I first stamped it so that it would be easier to line everything back up. 


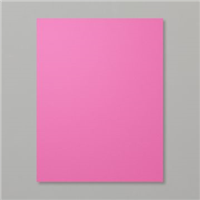
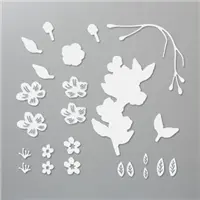
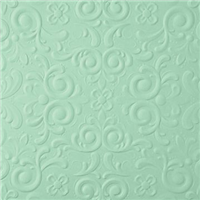
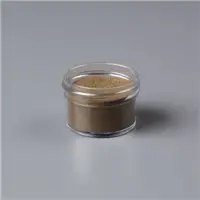
Once I had the images stamped again, I added some Gold Stampin’ Emboss Powder and heat set them.  One the melted powder had cooled I took them out and used the matching dies to cut each image out.  At this point I cut a piece of Basic Black Cardstock to 4 x 5 ¼ and used the Parisian Flourish 3D Embossing Folder and embossed it.  I then added this to a Magenta Madness layer that was cut to 4 1/8 x 5 3/8. 


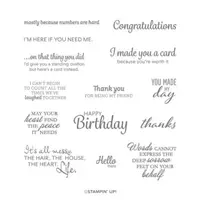
Next, I stamped my sentiment in Versamark and used the same embossing powder and heat set that.  I used the Layering Circles Dies to cut it and a scalloped circle from Pool Party Cardstock out.  I layered them together and added them to the front of the card with Stampin’ Dimensionals.  I then added the flowers with Stampin’ Dimensionals as well around the sentiment.  To finish off my card I added a few of the Gold Metallic Pearls sprinkled around the card. 


Here is a look at the challenge image that inspired my color pallet today.  I hope that you will take time and play along with us this week over at The Spot.  You can check out what the other design team members came up with using this color combo by clicking here. 


Thanks for dropping by.  If you need any of the supplies you have seen today you can pick them up in my online store in the shopping list below. 


Happy Stampin' 
Rick Adkins 

Use the Host Code on any order of $50 (before taxes & shipping) or more during the month and receive a gift from me in June as a Thank You. If your order is $150 or more, please do not use the host code.  You will forfeit your Stampin' Rewards if you do; and I want you to get those rewards.


If you place any size order with me during the month of July, you will receive the July Creative Stampers Tutorial Bundle from me as a little thank you.  This month's tutorial bundle has ten project tutorials that feature our favorite new products from the 2020-2021 Stampin’ Up! Annual Catalog.  The Creative Stampers Tutorial Bundle can either be earned for FREE with any size order or Can be purchased for $22 from me.


Don't forget about Bonus Days are going on now!  You get reward for shopping now with every $50 qualifying order. and you get to spend the $5.00 coupon codes when you shop in August.  

Join me on Tuesday July 20th for a fun crafting night together.  Bring a Stampin' Up! Kit and let's beat the summer heat with a little indoor crafting in my Zoom Craftroom.  


Join me in my July Monthly Card Class.  It's $25 or free with qualifying order  of $35 (before shipping and taxes) in my online store with this month's host Code  Deadline to get in is July 17th.  


Last day to join the july Card Club is July 17th.  Click on the Club Tab at the top to join.  

The deadline for my Christmas in July Card Class is coming up soon not miss out.  


Stampin' Up! Shopping List: 

Monday, July 13, 2020

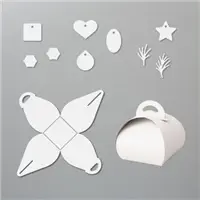
How to make a Itty Bitty Birthdays Curvy Keepsake Boxes

Hello and welcome to my blog; today I have a super cute little gift packaging idea for you that's great for birthdays wedding shower favors or anything really.  The great part is they are super easy to do.  You just need the die set, a few sheets of 6 x 6 designer series paper or cardstock a little ribbon and a stamp set with ink.  Here's a look at what I created during my Facebook Live last Wednesday.  


During the Live I actually made five little treat boxes in all the 2019-2021 In Colors; Rococo Rose, Sea Side Spray, Pretty Peacock, Purple Posy, and Terracotta Tile.  I have not decorated them all yet but I asked my viewers if they wanted to see the Mini Curvy Keepsake Box in all five colors and of course they did so I made them.  Really the secret to making these projects are in the Mini Curvy Keepsake Box Dies.  These dies make it so easy to whip out as mini of these little boxes as you want.  It's great with the die set because the die not only cuts everything but it puts the score marks in as well.  

Image by Stampin' Up!

One other great things about this die set is it only takes one sheet of 6 x 6 cardstock or designer series paper to make the box.  So if you are using designer series paper you could whip out 48 in no time.  Think about how fast that would be to make party favors.  They only hold a few pieces of candy but really that's all you need for a little gift.  


To get the nice rounded look that you see in the picture above I used my bone folder and just gave each side a little bend.  It didn't take anytime at all.  I used some scrap Whisper White cardstock and cut out the banner and tag   The tag die came from the stamp set.  With this die set you have a few options on the tags.  There's a heart, the oval (that I used here), a square, a circle and a star.  Plus a couple extra little dies to use to add to your design.  


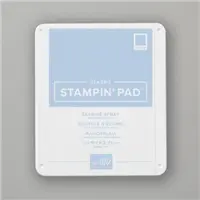
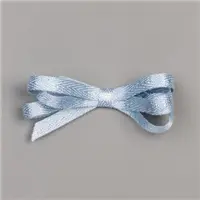
I stamped my greeting in Seaside Spray Classic Ink onto the 1/2" strip of Whisper White Cardstock and made the ends in to a fishtail banner.  I attached it to the tag with a Stampin' Dimensional.  I then added the tag with a little Seaside Spray Metallic Ribbon.  For the other box I colored the Gold Edged Metallic Ribbon with my Stampin' Blends to make a matching ribbon.  

 How To Video: 


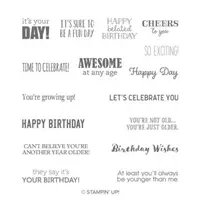
If you are viewing this post by email you may have to click here to view the video.  Not all mail servers will show the embedded video.  I did forget to mention that my greeting came from the Itty Bitty Birthday Stamp Set that is chalked full of birthday sentiments for all types of projects.  


Thanks for dropping by today I hope that you have a wonderful day and that you will give the Mini Curvy Keepsake Boxes a try I was so impressed with how easy they were to create.  If you need any of the supplies you have seen today you can pick them up in my online store in the shopping list below.  

Happy Stampin' 
Rick Adkins 

Use the Host Code on any order of $50 (before taxes & shipping) or more during the month and receive a gift from me in June as a Thank You. If your order is $150 or more, please do not use the host code.  You will forfeit your Stampin' Rewards if you do; and I want you to get those rewards.


If you place any size order with me during the month of July, you will receive the July Creative Stampers Tutorial Bundle from me as a little thank you.  This month's tutorial bundle has ten project tutorials that feature our favorite new products from the 2020-2021 Stampin’ Up! Annual Catalog.  The Creative Stampers Tutorial Bundle can either be earned for FREE with any size order or Can be purchased for $22 from me.


Don't forget about Bonus Days are going on now!  You get reward for shopping now with every $50 qualifying order. and you get to spend the $5.00 coupon codes when you shop in August.  

Join me on Tuesday July 20th for a fun crafting night together.  Bring a Stampin' Up! Kit and let's beat the summer heat with a little indoor crafting in my Zoom Craftroom.  


Join me in my July Monthly Card Class.  It's $25 or free with qualifying order  of $35 (before shipping and taxes) in my online store with this month's host Code  Deadline to get in is July 17th.  


Last day to join the july Card Club is July 17th.  Click on the Club Tab at the top to join.  

The deadline for my Christmas in July Card Class is coming up soon not miss out.  

Stampin' Up! Shopping List: 

Friday, July 10, 2020

July Blogging Friends Blog Hop - Green with Envy


Hello and welcome to my blog, and welcome to the July Blogging Friends Blog Hop.  This month our theme was Green with Envy.  I let everyone interpret that as they wanted but we are showcasing greens today.  Everyone did some fabulous projects.  By the way you may be seeing some new faces along the way of the hop as well as a new look coming soon.  Here's a look at my card for this month's hop.  


I used the Arrange a Wreath Bundle for my card today along with two of my favorite greens (Shaded Spruce and Just Jade).  Shaded Spruce has been around since the Color revamp a couple years ago and Just Jade is one of our new 2020-2022 In Colors.  I love pairing them together because they play so well together.  I did add in a little Calypso Coral to make them pop just a little bit more.  


I started out by stamping the one wreath from the stamp set in Shaded Spruce Classic Ink and then die cut the other (from the matching die set) from some Just Jade Cardstock and added it off set to the stamped wreath.  This allowed me to have both colors without having to do any fancy maneuvers with my Stamparatus.  The little flowers on the wreath are also die cuts from Calypso Coral Cardstock that I attached and added Champagne Rhinestones to the center of each.  I then added a Just Jade Gingham bow with a Mini Glue Dot and stamped the sentiment in the center or the wreath to finish off my card. 

 
Thanks for dropping by I hope that you have fun hopping along today.  Make sure that you leave comments because everyone loves comments and we would love to know what you think of our projects.  

Template Designed by creativeworkerbee