Hello and welcome to my blog; today is Independence Day here in the United States and I created a card to celebrate that. Independence Day is a federal holiday in the United States commemorating the Declaration of Independence of the United States, on July 4, 1776. So I wanted to make a little card to celebrate the spirit of independence. Here's what I came up with.
Saturday, July 4, 2020
Celebrate Independence Day - Many Mates Stamp Set
I started out by cutting 1" strips of Real Red, Misty Moonlight, and Whisper White Cardstocks. I then came back and cut 1/8" strips of the same colors. I added them to a Whisper White layer one at time. Next I came back and trimmed the panel down to my finished size of 4 x 5 1/4. I stamped the greeting from the Many Mates Stamp Set in Real Red Classic Ink.
Then I cut out the sentiment with the smallest oval in the Layering Oval Dies, along with a scalloped oval. I popped the stamped oval onto the scalloped oval with Stampin' Dimensionals. I took some scrap Real Red Cardstock and cut out the scrolly star die from the Stitched Stars Dies and added it to my card front. I placed the scalloped oval on top with more Stampin' Dimensionals.
I finished off my card by adding the leftover star cutouts to the card front. And placed the card front onto a Thick Whisper White card base cut at 4 1/4 x 11. I hope that if you are here in the United States that you have a safe and happy Independence Day.
Happy Stampin'
Rick Adkins
Friday, July 3, 2020
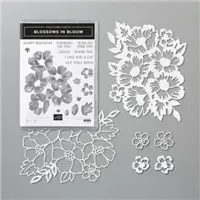
I Like You A Lot - Blossoms In Blooms Bundle
Hello and welcome to my blog; today I am going to share a card that I shared with one of the Tutorial Groups I share with. I used the Blossoms in Bloom Bundle to create the card. I designed this card for the Tutorial COOP that I take part in last month and did it with our Purples. Here's a look at the card I designed.
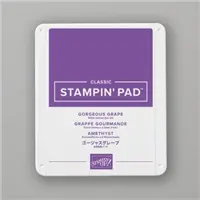
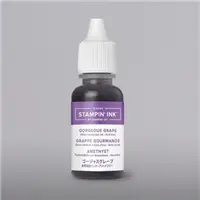
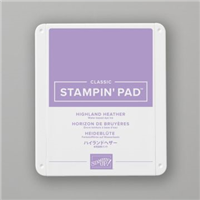
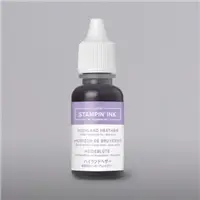
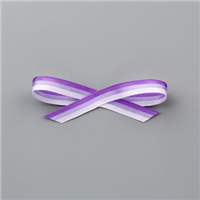
I love the Blossoms in Bloom Bundle Because it has the dies to create this bouquet that will fit on the front of a card. The flower bouquet really wasn't hard to do. To get the three different colors I stamped the large floral image from the stamp set in Gorgeous Grape Classic Ink onto my Whisper White Cardstock. I then layered the Highland Heather Layer and Purple Posy Layer die cuts onto that. By Doing this I got the three tone look. My inspiration for this card actually came from the Tricolor Ribbon.
The Blossoms in Bloom Bundle includes the Blossoms in Bloom Stamp Set and the Many Layered Blossoms Dies. Blossoms in Bloom Photopolymer Stamp Set allows you to create depth with watercolor-looking images you stamp, then you cut them out using the Many Layered Blossoms Dies. The Many Layered Blossoms Dies will allow you to create and add layered flowers to your projects as you can see above. These are just some of the features and reasons I love this bundle. And I will say that I REALLY have to like you to send you a card like this. No, not really it really wasn't as hard to make as it looks.
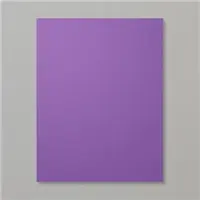
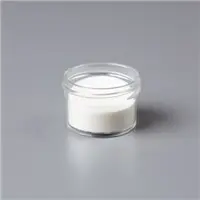
I then added the layered card front onto a Gorgeous Grape layer, and a Highland Heather layer before adding it to the card base. I finished it off with a few Rhinestone Basic Jewels and a bow made with my inspiration piece the Purple Tricolor Ribbon. If you want the sizes and directions on how I made this card you can download the tutorial by clicking here. Thanks for dropping by today if you need any of the supplies you can pick them up in my online store in the shopping list below.
Happy Stampin'
Rick Adkins
Bonus Days are back!
Today's the last day to get the Early Bird Pricing on my Summer Retreat togo. After today the price goes up. Deadline to sign up is July 8th, 2020. Click here to Learn More
Stampin' Up! Shopping List:
Thursday, July 2, 2020
Bonus Days are Back!
BONUS DAYS ARE BACK!
If you are unfamiliar with this promotion, with every $50 USD you spend by 3 August 2020 (before shipping and tax) you will earn a $5 Bonus Days coupon code that can be used 4–31 August 2020.
HOW TO EARN DURING BONUS DAYS
It's simple all you have to do is shop in my Online store and with every qualifying order before shipping and taxes you will earn a $5.00 coupon code to use in August. Make sure that when you are emailed the Coupon Codes from Stampin' Up! you keep them in a safe place! You want to do this because if you delete or lose them Stampin' Up! has no way of replacing them. I suggest putting them in a folder in your email account marked IMPORTANT! Yes, I know that this is true because it happened to me last year. I lost $25 in Coupon Codes because I deleted the email by accident.
Details:
An email address is required to participate; Bonus Days coupon codes can be delivered only via email.
If a participant earns multiple codes from a single order, they will receive one email with multiple codes. If they earn multiple codes from multiple orders, they will receive separate emails for each code earned.
All order types qualify for this promotion. Fax and email orders still require an email address.
Orders that are started before the promotion begins will not go toward earning coupon codes.
There is no limit to the number of coupon codes participants can earn per order or throughout the duration of the Bonus Days earning period.
EARNING PERIOD DEADLINES
Online: 3 August 2020, by 11:50 PM (MT)
Boho Indigo Card Tutorial - How To Make a Clean & Simple Card
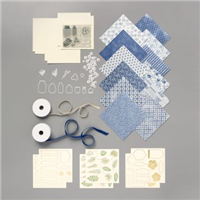
Hello and welcome to my blog; today I am going to share with you the cards I made the other day using the Boho Indigo Product Medley. I love the product Medleys that Stampin' Up! have been coming out with the last couple years. I think they are a super great value. One reason I really like them is that they come with everything you need (besides adhesive) to create whatever you would like. And, the price isn't bad for everything that comes in the box. Here's a look at the cards that I made.
The only thing that I added to what came in the kit was a little cardstock, ink, and adhesive. I stamped one of the vases from the Boho Indigo Stamp Set. I used a scrap of Very Vanilla Cardstock to stamp on. I then used the matching dies to cut out the vases. I sat them aside until I did a little more die cutting.
I also used a scrap of Granny Apple Green Cardstock to cut the palm leaves that I put in each vase. I then cut out two stitched squares from Very Vanilla Cardstock. I placed the vases and the palm leaves on the stitched squares with Dimensionals. I mounted both of the Very Vanilla Stitched Squares onto scalloped squares that I cut from Night of Navy Cardstock using the Layering Square Dies. I placed this on my card front with Stampin' Dimensionals.
I stamped the sentiments onto banners that came in the Product Medley. Which were both popped up on the cards with Stampin' Dimensionals.
Video Tutorial:
If you are viewing this post by email you may have to click here to view the video. Not all mail severs will show the embedded video.
Thanks for dropping by I hope that you have a wonderful day and I will see you back here tomorrow with another project. If you need the supplies to make this card you can find them listed below in the Stampin' Up! Shopping List.
Happy Stampin'
Rick Adkins
Stampin' Up! Shopping List:
Subscribe to:
Posts (Atom)
BLOG ARCHIVES
-
►
2021
(222)
- December (16)
- November (17)
- October (21)
- September (23)
- August (13)
- July (18)
- June (26)
- May (26)
- April (15)
- March (6)
- February (19)
- January (22)
-
►
2020
(303)
- December (18)
- November (27)
- October (22)
- September (16)
- August (30)
- July (24)
- June (14)
- May (30)
- April (28)
- March (33)
- February (29)
- January (32)
-
►
2019
(318)
- December (23)
- November (31)
- October (37)
- September (26)
- August (28)
- July (28)
- June (32)
- May (20)
- April (28)
- March (34)
- February (26)
- January (5)


