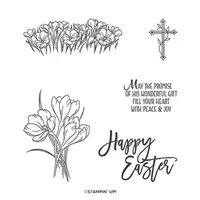
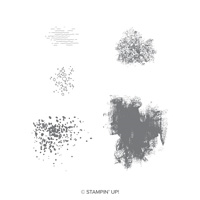
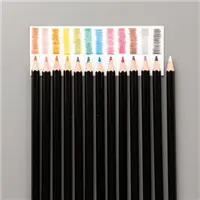
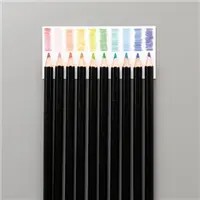
Hello and welcome to my blog; today I am going to share with you the Easter Sampler I made a few weeks back. I used the Easter Promise and Artisan Textures Stamp Set for most of the sampler. Samplers are a great way to create custom home decor pieces for your home with supplies you may already have around your house. I mean really they are just some cardstock, stamped images, embellishments and designer series paper arranged in a super pretty way. I did a little watercoloring on my Easter Sampler using my Watercolor Pencils. Here's a look at the Sampler.
Saturday, April 11, 2020
Easter 12 x 12 Sampler - Easter Promise Stamp Set
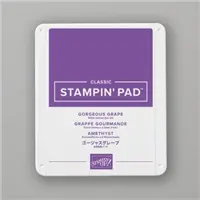
As with any sampler I create I first start by picking out what I want to focus on. I knew I wanted to do a Easter Sampler, but with all the cute Easter stamp sets in the January-June Mini Catalog I had to narrow it down. I ended up picking the Easter Promise Stamp Set. The Easter Promise Stamp Set allows you to create messages of hope with the Easter greetings and springtime flower images. Once I had the stamp set picked out it was time to decide on a color theme. I went with a few of my favorite springtime colors; Soft Seafoam, Gorgeous Grape, Melon Mambo, Daffodil Delight, and threw in a little Granny Apple Green just for fun. Next I figured out how big I wanted everything to be and how many squares I wanted to use. So I cut all the pieces for the basic set up. I did eight Gorgeous Grape squares in 3 1/4 x 3 1/4 and one at 3 1/2 x 3 1/2. I then started cutting my white pieces. 3 x 3 and 3 1/4 x 3 1/4 for the center. I stamped the images I knew I wanted to watercolor first so that they would dry.
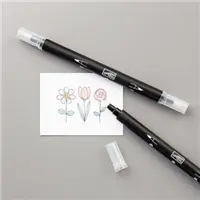
I started with my center panel and colored the crocus flowers with my watercolor pencils. I softened the color with my blender pen. I love to use the blender pen to color and watercolor images. To me they are much easier to work with than the Aqua Painters, because of the fine tip I and very little moisture that comes out. Once I had everything colored I repeated the process for the other two images. I placed the center panel onto my 12 x 12 whisper white cardstock, after matting it with the one 3 1/2 x 3 1/2 piece of Gorgeous Grape. I then started arranging everything else around it. For the cross square next to the largest square I added a little Daffodil Delight Designer series paper that was cut using one of the stitched squares from the Stitched Shapes Dies. I also cut out the cross image with a smaller one. I embossed a piece of Melon Mambo cardstock with the Ornate Floral 3D Embossing Folder before putting it all together.
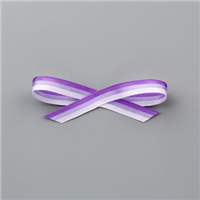
I stamped the other floral image in the top panel in Gorgeous Grape Ink and used one of the images from the Artisan Texture Stamp Set to add a little color to the image. I stamped off twice to achieve the lighter color. For the center panel at the top I used some of the Very Vellum Sale-A-Bration paper in the background over a piece of Whisper White and then used the Cross of Hope Dies to cut one cross from Gorgeous Grape Cardstock, one from Gold Foil, and one from the Vellum. I layered them all up and added some of the Purple Tricolor Ribbon behind and placed the crosses together over it.
For the bottom panels I used the floral images again, using first, second and even third generation stamping to get the look I wanted. You will notice that you will see all the colors, images, and techniques repeated in my sampler at least three times. This creates a very pleasing visual interest to the sampler and to the eye.
Happy Stampin'
Rick Adkins
Friday, April 10, 2020
Mystery Stamping with Rick
So I have all my supplies ready and I am ready to go live at 10 AM CST over on my Facebook page I hope that you will join me for the interactive event. We are going to make a super cute card together. So here's what you need to get ready for the Mystery Stamping Event.
Gather Your Supplies:
• Cardstock 5 ½ x 8 ½ scored at 4 ¼
• A Stamp Set with both Sentiments and images
• Designer Series Paper or matching cardstock to your card base – four cut at 4” x 1”
• Two 4 x 5 ¼ piece of Whisper White
• 2” Circle Punch or 2” Circle Die
• Coordinating Ink Pads: Two or three colors
• Ribbon and Embellishment
• Adhesive: Snail Adhesive/Multipurpose Liquid Glue, Dimensionals, Mini Glue Dots if you need them
For those that can't join in live I will share the card that I made later on today. Hope to see you on the Live and hope that you have fun playing along. Don't forget to gather the supplies listed above and join me at 10 am CST over on my Facebook Page for a little stamping fun as we solve the what the mystery card looks like.
Share your card you made after watching the Mystery Stamping video below in the comments for a chance to win a Little Lady Bug Stamp Set from me. You can also email me your picture and I will post It for you. Email to rick@rckinsmonstudio.net with the subject line: mystery stamping card
I will randomly draw one winner and announce the winner on my Facebook Live Wednesday April 15, 2020 at 12:30 pm CST. Deadline to enter is Tuesday, April 14 by midnight.
You do have to live in the US to win but you can still share your card if you don’t we would love to see what you created following the video.
See you soon
Rick Adkins
Thursday, April 9, 2020
Graduation Card for my Niece - I Say Hello Stamp Set
Hello and welcome to my blog; today I am going to share with you my card that was supposed to be part of a Blog Hop today but I had computer issues last night and couldn't get the post done. After letting the laptop do it's thing everything seems to be working fine. Since my post was messed up last night I thought I would share my card with you again. I made this card with my oldest niece in mind; she will be graduating as part of the class 2020. Her graduation has been pushed back from May until sometime in August due to the pandemic. So I thought I would make her a nice card, because you know there's nothing better than a piece a cardstock with a fold in the middle. Here's a look at my card.
Tips & Tricks:
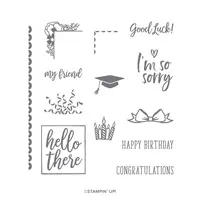
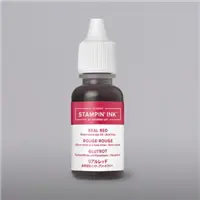
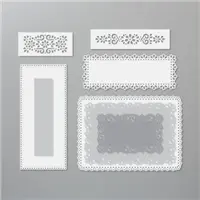
So the first thing I did when I made the decision to make her a graduation card I went online and found her schools colors. Once I found the school's colors I was like oh lord how am I going to make this card for a girl. Her school colors were Red, White, & Blue. Not the easiest color combo to work with without making it look very patriotic. I then thought of using the Ornate Layers dies from the Ornate Garden Suite; which would be perfect to add a feminine touch to the card. But, first I needed something graduationish. So I happened to remember that the I Say Hello Stamp Set had a graduation hat in the set. So I pulled my colors; I went with Real Red, Blueberry Bushel, and Whisper White. And I went to town making my own designer series paper for my card.
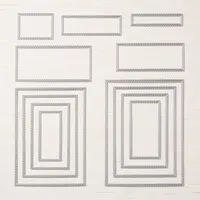
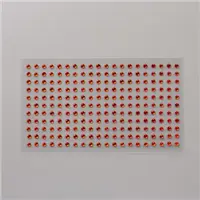
I then added the card front to a Real Red card base cut at 4 1/4 x 11 scored at 5 1/2. I stamped the sentiment in Blueberry Bushel Classic Ink and the Graduation hat one more time on the sentiment strip in Real Red Classic Ink and die cut it out with my Stitched Rectangle Dies. I popped the sentiment up on Dimensionals on the center of the card and added a few Red Rhinestone Basic Jewels around the card to finish it off and add a little bling to the card. I hope that she likes her card when she gets it in the mail. Thanks for dropping in today I hope you have a wonderful day.
Happy Stampin'
Rick Adkins
If you live in the US. I would love you to choose me as your demonstrator. If you would like to purchase any of these products you can click on the Shop Now Button or by clicking on any of the images below. Alternatively, you can also contact me by email to place your order. Please be sure to use the monthly host code and I’ll send a little something out to you the following month to say Thank You!
Use the April Host Code on any order of $50 (before taxes & shipping) or more during the month and receive a gift from me in May as a Thank You. If your order is $150 or more, please don't use the host code. You will forfeit your Stampin' Rewards if you do; and I want you to get those rewards.
If you place any size order with me during the month of April, you will receive the April Creative Stampers Tutorial Bundle from me as a little thank you. This month's tutorial bundle features eleven tutorials that use the outgoing 2018-2020 In Colors. The Creative Stampers Tutorial Bundle can either be earned for FREE with any size order or Can be purchased for $20 from me.
Order $50 (before shipping and taxes) of products from the Ornate Garden Suite of Products in my Online Store in April using the Host Code: ZPBUDHR7 and I will send you’re the Ornate Garden Mega Tutorial Bundle for FREE as a thank you gift. That’s 90 tutorials featuring products from the Ornate Garden Suite (a $21 value) free for purchasing products from the Ornate Garden Suite from me this month free.
Don’t want to order but still would like to get the Ornate Garden Mega Tutorial Bundle featuring 90 projects with both metric and Imperial measurements for each project! You can purchase it from me for $21.00 US anywhere in the world in my online store by clicking here.
Stampin' Up! Shopping List:
April 09, 2020 Card making, graduation card, handmade cards tutorials, papercrafts, Stampin' Up! Leave a Comment
Subscribe to:
Posts (Atom)
BLOG ARCHIVES
-
►
2021
(222)
- December (16)
- November (17)
- October (21)
- September (23)
- August (13)
- July (18)
- June (26)
- May (26)
- April (15)
- March (6)
- February (19)
- January (22)
-
►
2020
(303)
- December (18)
- November (27)
- October (22)
- September (16)
- August (30)
- July (24)
- June (14)
- May (30)
- April (28)
- March (33)
- February (29)
- January (32)
-
►
2019
(318)
- December (23)
- November (31)
- October (37)
- September (26)
- August (28)
- July (28)
- June (32)
- May (20)
- April (28)
- March (34)
- February (26)
- January (5)


