Sunday, March 22, 2020

Forever Blossoms CASE the Catalog

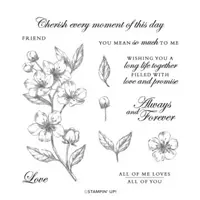
Hello and welcome to my blog; today I am going to share with you another CASE the Catalog Card.  Today we are going to use the Forever Blossoms Stamp Set and do a little watercoloring.  The greetings in the Forever Blossoms Stamp Set are designed for weddings, anniversaries, friendships, and more. Its detailed floral images can be used to make greeting cards for any occasion. This stamp set is also available in French. This is a Distinktive** stamp set; it has a special texture that gives added depth and dimension in a single step, creating photo-realistic images. **Patent pending

Here's a look at today's card.  

Tips & Tricks: 

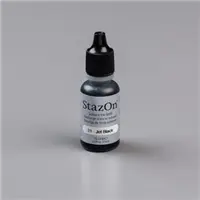
Casing means to Copy And Share Everything or to Copy And Selectively Edit.  Casing is a great way to learn something new or something you want to try, and the Stampin' Up! catalogs are not only a shopping list but a inspirational idea book; where you can find new techniques and card ideas to try.  I received today's card as part of a CASE the Catalog Swap I took part in.  So let's get into the card shall we.  The floral image from the Forever Blossoms Stamp Set was stamped in Stazon Ink on Shimmery White Cardstock.  This is a perfect base because you can do a little watercoloring on.  The Shimmery White Cardstock is smooth enough that you can get a very nice stamped impression but also strong enough to let you add a lot of water when watercoloring.  Which actually was not the case with this card, the amount of water I mean.  


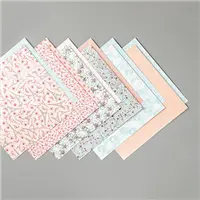
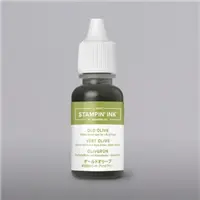
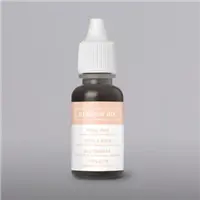
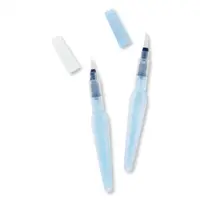
The stamped images were then watercolored with a little ink.  I usually use a few drops of a ink refill to watercolor with in a little white watercolor tray; which can be picked up at any box store in the craft section.  The Aqua painter is a perfect choice for adding the color.  Remember the more water you add the lighter the color.  It's better when watercoloring to add multiple lighter layers and build up the colors after each layer dry.  The colors used were Petal Pink and Old Olive.  Once dry this layer was added to a Pool Party Card Base cut at 5 1/2 x 8 1/2 (scored at 4 1/4).  The sentiment was then stamped on Whisper White Cardstock and then cut out using the Stitched Nested Label Dies.  There was also a couple of the stitched labels in the next size down from the Parisian Blossoms Speciality Designer Series Paper.  


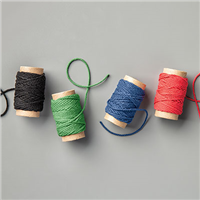
The stitched labels where then attached together.  You can take the one DSP label and cut in half to place behind the sentiment.  Then you can add some of the Poppy Parade Twine from the Country Club Twine Combo Pack in a couple loops and then the sentiment put on top with a few Stampin' Dimensionals.  That finishes the card.  I hope that you will give watercoloring with ink refills a try if you haven't before.  Thank you for dropping by today.  If you need any of the supplies that you have seen used today you can pick them up in my online store.  
Rick Adkins


Use the March Host Code on any order of $50 (before taxes & shipping) or more during the month and receive a gift from me in April as a Thank You.  If your order is $150 or more, please don't use the host code.  You will forfeit your Stampin' Rewards if you do; and I want you to get those rewards.


If you place any size order with me during the month of March, you will receive the March Creative Stampers Tutorial Bundle from me as a little thank you.  This month's tutorial bundle features fourteen floral themed tutorials.  The Creative Stampers Tutorial Bundle can either be earned for FREE with any size order or Can be purchased for $20 from me.

Stampin' Up! Shopping List: 


Saturday, March 21, 2020

Botanical Prints Product Medley - Saturday Simple Stamping

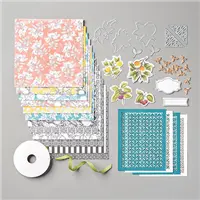
Hello and welcome to my blog; today I am going to share a Simple Stamping card with you using products from the Botanical Prints Products Medley plus a few additional supplies.  Creativity comes easy when you've got amazing coordinating products. Stampin' Up! doesn't want to brag, but coordination is one of their strong points. The Botanical Prints Product Medley is a perfect example. The medley includes stamps, paper, dies, and accessories for creating cards and more.  With everything included in this product medley it's perfect to make Simple Stamping Cards with when you are just starting out.  Because a majority of what you need plus more is right in the box.  Here's a look at my Saturday Simple Stamping card for this week.

Tips & Tricks: 

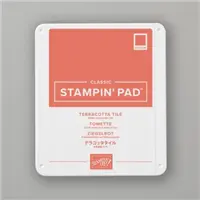
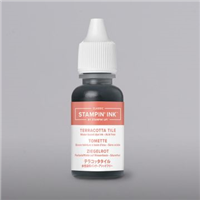
Since simple stamping is all about stamps, ink, and paper I found the products in the Botanical Prints Product Medley perfect to create some #simplestamping cards.  I cut a piece of the Botanical Prints Designer Series Paper down and added a matching mat layer behind my designer series paper to enhance the mix of black and white imagery with the bold beautiful colors on the paper.  I added my layer to a piece of Thick Whisper White cardstock that I cut down to 4 x 5 1/4.  I simple stamped friend in Terracotta Tile Classic Ink at the bottom of this layer and added it to a Thick Whisper White Base that I cut to 5 1/2 x 8 1/2.  


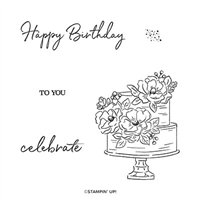
For the inside of the card I stamped the Happy Birthday sentiment from the Happy Birthday to You Stamp Set (which is a Saleabration set this year and can be earned for Free with a qualifying order).  I added a couple of the matching floral images from the Botanical Prints Stamp Set on the inside of the card to tie it in.  I keep the color pallet simple and only used the one color ink.  When you are a beginner this makes your card making so easy because you don't have to hunt for matching ink colors or colors that coordinate.   But if you have followed me for anytime at all you know that I firmly believe as long as you pull your colors from a pack of designer series paper they will match because Stampin' Up! has done all the coordinating work for us.  So, you can rest assured that the colors you pick from the designer series paper will be a perfect match on your card or project.  


To create a perfect matching envelope I stamped the same botanical print in Terracotta Tile Classic Ink on the flap of the envelope.  This creates the perfect coordinating envelope and gives the person on the receiving end a little hint at what's inside.  If you need any of the products you have seen today you can order them in my online store by clicking on the items in the shopping list below.  Thank you for stamping bye don't forget to follow my blog for daily inspiration.  
Happy Stampin' 
Rick Adkins 


Use the March Host Code on any order of $50 (before taxes & shipping) or more during the month and receive a gift from me in April as a Thank You.  If your order is $150 or more, please don't use the host code.  You will forfeit your Stampin' Rewards if you do; and I want you to get those rewards.


If you place any size order with me during the month of March, you will receive the March Creative Stampers Tutorial Bundle from me as a little thank you.  This month's tutorial bundle features fourteen floral themed tutorials.  The Creative Stampers Tutorial Bundle can either be earned for FREE with any size order or Can be purchased for $20 from me.

Stampin' Up! Shopping List: 


Thursday, March 19, 2020

Peaceful Moments Lidded Poppy Box

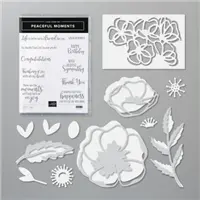
Hello ans welcome to my blog; today I am going to share with you my Lidded Poppy Box, that I made.  I used the Peaceful Moments Bundle for my flower and sentiment and created this super cute little box for you today.  The Peaceful Moments Bundle includes the Peaceful Moments Stamp Set and the Poppy Moments Dies.  Create fancy, layered die-cut poppies, leaves, and more to add beauty and depth to your handmade cards, scrapbooks, journals, and other paper crafts using the Poppy Moments Dies. Pair the dies with the coordinating Peaceful Moments Stamp Set to add heartfelt sentiments to your projects for birthdays, congratulations, sympathy, thank you, and more.  Here's a look at today's project.

Tips & Tricks: 

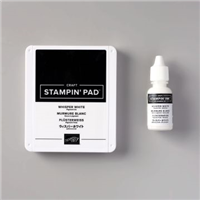
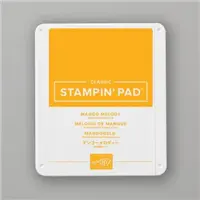
To created the multi colored flower on the top of my box I used the Peaceful Moment Dies and cut out all the pieces of cardstock.  I used scraps to create the flower.  As far as cardstock goes I used scraps of Daffodil Delight, Mango Melody, for the flower and Mossy Meadow and Old Olive for the leaves.  I did a little sponging of the colors onto the cardstock to create the different values.  I also added a little Whisper White Craft Ink for the highlights.  I used a sponge dauber to get into the areas and sponged on the ink.  Once all the inking was completed and dried I glued everything together with a little liquid glue.  


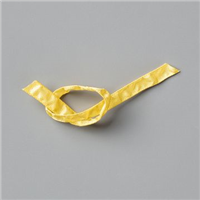
I then created my box top and base with a little cardstock and put them together with a little Tear & Tap.  The box was a basic box construction so nothing fancy there.  The base was created from a 8 x 8 piece of Daffodil Delight cardstock and the top was made from a 6 x 6 piece of Thick Whisper White Cardstock.  I wrapped a little of the Daffodil Delight Ruched Ribbon around the top and tied it into a pretty little knot so it would stay in place.  You can add a few mini glue dots under the ribbon if you don't want it to move at all.  


Once the box was completed I added the poppy with a few Stampin' Dimensionals.  I then created a double fish tail banner for my sentiment which comes from the Peaceful Moments Stamp Set in Mango Melody Ink.  Greetings, greetings, and more greetings. Whatever the situation, the Peaceful Moments Stamp Set has the words you need to express your thoughts.  I thought this made for a prefect little gift box for someone.  Thanks for dropping by today I hope that you have a wonderful day and stay safe.  If you need any of the supplies you can order them in my online store by clicking on the item below.  
Happy Stampin'
Rick Adkins


Use the March Host Code on any order of $50 (before taxes & shipping) or more during the month and receive a gift from me in April as a Thank You.  If your order is $150 or more, please don't use the host code.  You will forfeit your Stampin' Rewards if you do; and I want you to get those rewards.


If you place any size order with me during the month of March, you will receive the March Creative Stampers Tutorial Bundle from me as a little thank you.  This month's tutorial bundle features fourteen floral themed tutorials.  The Creative Stampers Tutorial Bundle can either be earned for FREE with any size order or Can be purchased for $20 from me.

Stampin' Up! Shopping List: 


Template Designed by creativeworkerbee