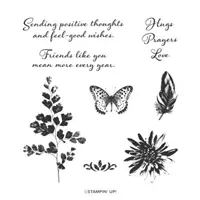
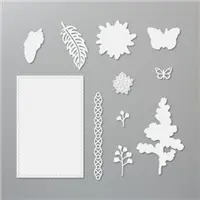
Hello and welcome to my blog; today I have another Video Tutorial and fun little card for you. Today, I am using the Positive Thoughts Stamp Set and the coordinating dies from the Coordinating Products release. Remember that the Coordinating Products are while supplies last or until March 31, 2020. I designed this card to be a fun Springtime card that's sure to send positive thoughts. Positive thoughts are exactly what you get in the Positive Thoughts Stamp Set. Use the images and phrases in these stamps to create a bouquet of affirmation for someone you love. Here's a look at today's project.
Monday, March 9, 2020
Friends Like You - Positive Thoughts Video Tutorial
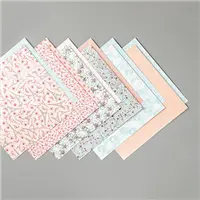
I started out my card today by cutting the Parisian Blossom Speciality Designer Series Paper to card front size. And added it to the top folding card base that was made from a piece of Thick Whisper White Cardstock. Next I cut the Very Vanilla piece using the stitched die from the coordinating die set. You may be wondering why I picked Very Vanilla for some of the project and whisper white for the other. I love the mixture of the two because it allows you to add colors that go with both. Plus it adds a neutral to the white that some don't even think of and it allows the images on the white to stand out more against the vanilla.
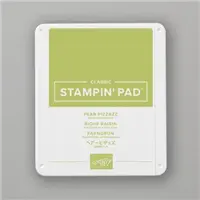
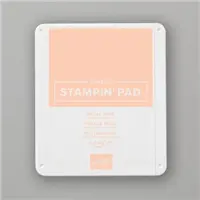
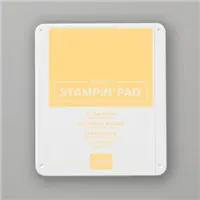
Once the stitched piece was cut and attached to the card base using dimensionals. I stamped the fern/foliage image from the stamp set in Pear Pizzazz ink. I also stamped the flower from the set twice full strength and once second generation. By doing the second generation stamping I have a lighter shade of petal pink that allows for more life to the color combination while still keeping everything cohesive. I then stamped the butterfly from the set in So Saffron. Once this was done I used the Nature's Thoughts Die and cut each stamped image out.
After all the die cutting and stamping I took the Very Vanilla piece and stamped the sentiment from the set in Petal Pink ink at the bottom. I thought that by having the sentiment at the bottom of the card allowed a good place to ground the card and keep the focus on the card. I then added the stamped images in a triangle pattern. To finish off the card I used a few of the Champagne Rhinestones.
If you are viewing this post by email you may have to click here or click on the image below to view the video.
Thanks for dropping by today if you need any of the supplies I've used today, you can pick them up in my online store by clicking on the item in the shopping list below.
Happy Stampin'
Rick Adkins
Use the March Host Code on any order of $50 (before taxes & shipping) or more during the month and receive a free gift from me in April as a Thank You. If your order is $150 or more please don't use the host code. You will forfeit your Stampin' Rewards if you do; and I want you to get those rewards.
If you place any size order with me during the month of March you will receive the March Creative Stampers Tutorial Bundle from me as a little thank you. This month's tutorial bundle features fourteen floral themed tutorials. The Creative Stampers Tutorial Bundle can either be earned for FREE with any size order or Can be purchased for $20 from me.
Sunday, March 8, 2020
CASE the Catalog - Easter Promise
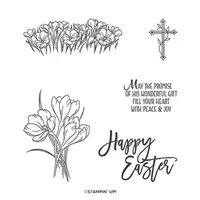
Hello and welcome to my blog; today I am going to share with you one of the CASE the Catalog Swap cards that I got back in November. Easter is around the corner and I wanted to share this cute card with you today. I am not sure who made this card in the swap group but I love what they did. The card that was CASED (Copy and Share Everything) from the Easter Promise Card on the top of page 44 of the January-June Mini Catalog. Here's a look at the card I received.
Tips & Tricks:
For this card the card base was made from Purple Posy Cardstock (5 1/2 x 8 1/2 scored at 4 1/4). There's a strip of Purple Posy Cardstock that has been embossed with the Spripty 3D embossing folder along with the stitched nestled label die cuts. The center square was made with the largest square in the Stitched Shapes Dies.
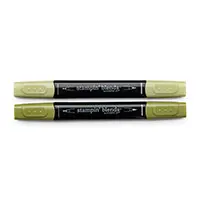
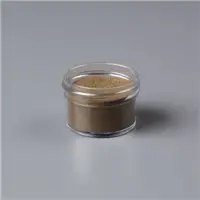
The flowers and the Happy Easter Sentiment were both heat embossed with Gold Stampin' Emboss Powder and then heat set. The flowers where colored in with stampin blends in the following colors; Purple Posy, Rococo Rose, Daffodil Delight, and Old Olive. Once the flowers where colored they were cut out using snips.
Thanks for dropping by today, I hope that you have a wonderful rest of your weekend. If you need any of the supplies you can order them in my online store by clicking on the items in the shopping list below.
Happy Stampin'
Rick Adkins
If you place any size order with me during the month of March you will receive the March Creative Stampers Tutorial Bundle from me as a little thank you. This month's tutorial bundle features fourteen floral themed tutorials. The Creative Stampers Tutorial Bundle can either be earned for FREE with any size order or Can be purchased for $20 from me.
Stampin' Up! Shopping List:
March 08, 2020 CASE, CASE the Catalog, Easter, Easter Card, Easter greetings, Easter Promise Stamp Set, embossing, floral, flower, heat embossing, stampin blends Leave a Comment
Friday, March 6, 2020
Blogging Friends March Blog Hop Spring Wedding
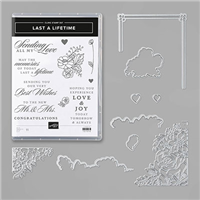
Hello and welcome to my blog; today I am going to share with you my project for the March Blogging Friends Blog Hop. Our theme this month is Spring Weddings. Spring is a time of renewal and new beginnings. Weddings are one of the biggest new beginnings that anyone can take part in their lifetime, and they are a great reason to celebrate; and it something that's meant to last a lifetime. Here's a look at my card.
Tips & Tricks:
As I said this is a easy card and uses mostly stamps ink and paper besides the dies from the Last a Lifetime Bundle. I started off my card by taking the Very Vanilla cardstock and doing my die cutting. Once all the die cutting was done I used the die brush to remove all the all the little pieces.
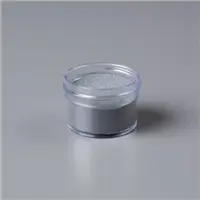
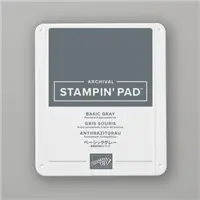
I stamped the sentiment floral image and a few of the hearts in versamark ink and added Sliver Embossing powder. Once heat set it was time to add the card front to my card base. I used Whisper White Thick cardstock to make the card base. I originally used a portrait card base but for the video I used a landscape card base. To dress up the card I stamped the sentiment on the inside with Basic Gray ink along with the flowers from the stamp set. I also added a few rhinestones to add some shien and sparkle.
Video Tutorial:
If you are not seeing the video you will need to click here. If you are viewing this post on my wordpress site you will need to click here to view the blog roll.
Blog Roll:
Happy Stampin'
Rick Adkins
Use the March Host Code on any order of $50 (before taxes & shipping) or more during the month and receive a free gift from me in April as a Thank You. If your order is $150 or more please don't use the host code. You will forfeit your Stampin' Rewards if you do; and I want you to get those rewards.
If you place any size order with me during the month of March you will receive the March Creative Stampers Tutorial Bundle from me as a little thank you. This month's tutorial bundle features fourteen floral themed tutorials. The Creative Stampers Tutorial Bundle can either be earned for FREE with any size order or Can be purchased for $20 from me.
Have you joined this weeks Spot Challenge yet? Click here to play along.
Stampin' Up! Shopping List:
March 06, 2020 Blogging Friends Blog Hop, elegant wedding card, floral, last a lifetime, Wedding Card Leave a Comment
Subscribe to:
Posts (Atom)
BLOG ARCHIVES
-
►
2021
(222)
- December (16)
- November (17)
- October (21)
- September (23)
- August (13)
- July (18)
- June (26)
- May (26)
- April (15)
- March (6)
- February (19)
- January (22)
-
►
2020
(303)
- December (18)
- November (27)
- October (22)
- September (16)
- August (30)
- July (24)
- June (14)
- May (30)
- April (28)
- March (33)
- February (29)
- January (32)
-
►
2019
(318)
- December (23)
- November (31)
- October (37)
- September (26)
- August (28)
- July (28)
- June (32)
- May (20)
- April (28)
- March (34)
- February (26)
- January (5)


