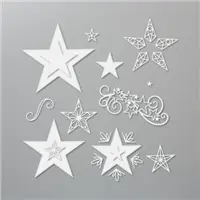
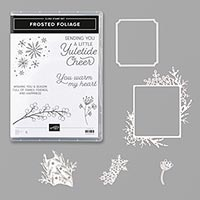
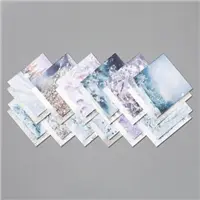
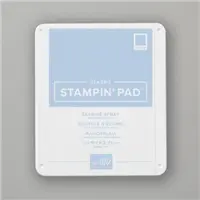
Hello and welcome to my blog; it's only taken me all day to get my computer working were I could write today's blog post. Anyway I have a festive card to share with you today. And even better is it's easy to create. Which you all know is one thing that I think is a must for Christmas Cards. I also think it's never too early to start making them as well. And there are some great sets in the new 2021-2022 Annual Catalog as well as some festive Designer Series Paper as well. Here's a look at my card.
Wednesday, June 30, 2021
Wednesday, January 29, 2020
Treat Week 2020 #3 - MORNING STAR Star Box
Hello and welcome to my blog; today I am going to share with you a super cute box that's like nothing that I 've ever created before. I thought this would be a great project for Treat Week 2020. Treat Week is my week long series sharing different treat projects ranging from simple to more advanced. This fun unexpected Star shaped gift box will surly put the stars in someone's eyes. Here's a look at my project.
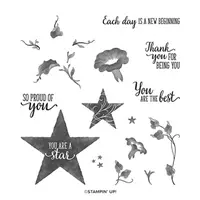
This box uses products from the 2020 Stampin' Up! Mini Catalog. I used the Morning Start Stamp Set to stamp on my project today. Enjoy stars and flowers in varying sizes in the Morning Star Stamp Set. Mix and match to create unique stamped patterns complemented by encouraging messages. This is a Two-Step Stampin’ set; it allows you to layer two or more images to create one final image with extra texture and dimension in the colors you want. This is also a Distinktive stamp set; it has a special texture that gives added depth and dimension in a single step, creating photo-realistic images. Since this set is a Distinktive set and the images could be layered made it was wonderful choice to use on this project.
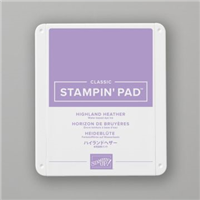
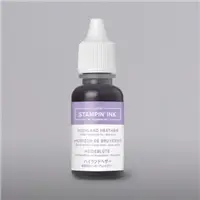
This was the first version of this project. I used the floral star image on the front and stamped one of the Morning /Glory flowers in the set and cut it out by hand. I popped it up on the front to add a great amount of detail and interest. This box needs two of the large stitched stars cut out in whatever cardstock color you pick. For the above photo I picked Highland Heather with matching ink. You also will need three strips of matching cardstock cut at 2 7/8" x 11. I scored this piece on the long side at every 1 1/2" mark; so 1 1/2, 3, 4 1/2, 6, 7 1/2, 9, & 10 1/2". I then scored on the short side at 3/8" all the way down. You will fold and burnish all the scorelines, and add tear & tape on the 3/8" side, and they you are going to cut up the score lines to the first score line and you are going to deeply notch each section and how to cut the strips to make them long enough (see video).
Video Tutorial:
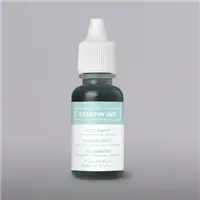
Stampin' Up! Shopping List:
Tuesday, November 12, 2019
How to Make a Star Easel Card - Video Tutorial
Hello and welcome to my blog; today I have a super fun fold card for you. As you know if you have followed me or been here be for you know that I love cards that look complicated but are super easy todo. And, today's cards no exception. My project today is a Star Easel card. I made this card after seeing it in a UK card magazine and just had to figure it out. Here's a look at my project.
Tips & Tricks:
When you go to put the points in place as you will see in the video you may have to use your snips to cut the cardstock all the way through.
Video Tutorial:
Stampin' Up! Shopping List:
November 12, 2019 fancy fold, Feels Like Frost DSP, frosted foliage bundle, frosted frame dies, snowflakes, star, Star Easel card, video tutorial 2 comments
BLOG ARCHIVES
-
►
2021
(222)
- December (16)
- November (17)
- October (21)
- September (23)
- August (13)
- July (18)
- June (26)
- May (26)
- April (15)
- March (6)
- February (19)
- January (22)
-
►
2020
(303)
- December (18)
- November (27)
- October (22)
- September (16)
- August (30)
- July (24)
- June (14)
- May (30)
- April (28)
- March (33)
- February (29)
- January (32)
-
►
2019
(318)
- December (23)
- November (31)
- October (37)
- September (26)
- August (28)
- July (28)
- June (32)
- May (20)
- April (28)
- March (34)
- February (26)
- January (5)


