Showing posts with label snowman season bundle. Show all posts

Tuesday, October 15, 2019

How To Make a Snowman Pop Up Card

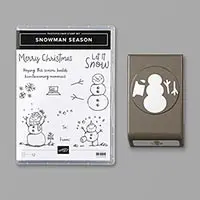
Hello and welcome to my blog; today I am going to share with you how to make a Snowman Pop Up Card using products from the Snowman Season Suite from the Stampin' Up! 2019 Holiday Catalog.  The frosty friends in the Snowman Season Stamp Set will warm any heart.  And this cute little snow man pop up card is not exception.  Here's a look at my project.

You would think that this card is a hard one but actually this is a really easy one to do.  One of the things to remember is that you can not put glue in the opening for the pop up.  If you do you will glue the card closed.  That is the hardest thing about this pop up card.

Once you start using this bundle and making this simple pop up card you will want to create a flurry of projects using these happy snow-people.  That's what has happened to me I used it on my Online Christmas Card Class this month and I am just head over heals for this set.
If you are viewing this post by email you may have to click here or the image below to view the video.
.
.
Thanks for dropping by today, I hope that you have a wonderful day and you have enjoyed today's card.  If you need any of the supplies I used today you can pick them up in my online store.  Happy Stampin' Rick Adkins 

Stampin' Up! Shopping List: 


Price: $49.00

Monday, October 7, 2019

Let It Snow Online Christmas Card Class:


I am super excited to bring to you my NEW Online Class featuring the Snowman Season Bundle from the 2019 Stampin’ Up! Holiday Catalog.  This class is part of my Christmas Card Series that I do each year.  But this is not only a new class; I am also excited to be able to offer you a new way to order my class!  If you notice below there are links in the post, that’s because we have a new system in place that allows me to add a shopping cart for everything in the class.  Yes, you read that correct.  Instead of me ordering everything for you in the class, having it shipped to me, then having to repack everything along with your class kits.  You can know click on the option you want and click add to cart and put in your information, and have it shipped directly to your home.  What does this also allow I can add 12 x 12 paper to my classes, and you don’t have to pay the huge amount for extra shipping.  So, this new feature opens a whole new world for my Online Classes and new experiences for you my wonderful customers! 


I still have the different options available to you.  In this class you have three options to chose from! 

  Here’s how it works:


You click on the link below on which ever option you want to purchase the medium or large option.  And the link will take you to the shopping cart.  Once there you can click ADD ALL TO CART and that will put everything that I have preselected for the class in your order.  Say you want to substitute the stamp set or bundle.  You can do so by unchecking it and then hit ADD ALL TO CART then once in the shopping cart hit continue shopping, add the bundle or equal or greater value to the cart and then hit check out.  Before paying you will add the host code listed on the order where it says. And then hit submit and pay.  All the products will be shipped to you and once I get your confirmation email with your address, I will mail out the class kits to you within 48 hours.  I will then send you an email with the PDF Instructions and link to the video tutorials by the date of the class.  Super easy right!  


Let It Snow Online Christmas Card Class: 
When:  Saturday, October 19, 2019
Deadline to RSVP & Prepay:  October 14, 2019
Cost:  $58.25 to $86.75 (plus shipping and taxes)
Time:  Your convenience
Location:  Comfort of your own Home

Details:


Join me for my Let it Snow Christmas Card Class.  It’s never too early to get your Christmas Cards finished or get a jump start on them.  Each attendee will make 8 cards (2 each of 4 designs).  Your class fee includes:
·         The Snowman Season Bundle
o   Snowman Season Stamp Set
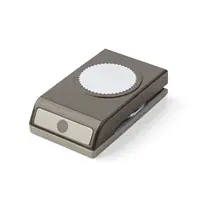
o   Snow Man Builder Punch
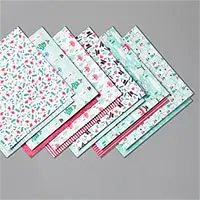
·         Let it Snow Specialty Designer Series Paper (12 x 12)
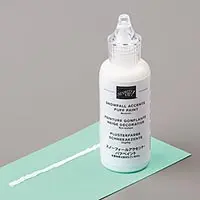
·         Snowfall Accents Puff Paint
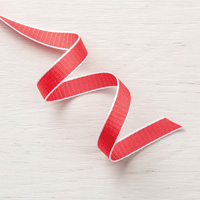
·         Real Red 1/8” Curly Ribbon
·         Plus, all the Make & Take Kits to do each project. 
·         Envelopes are included in each Make & Take Packet. 
·         Printable PDF Full color Tutorial will be emailed to you along with the link to the class videos. 

·         The Snowman Season Bundle
o   Snowman Season Stamp Set
o   Snow Man Builder Punch
·         Let it Snow Specialty Designer Series Paper (12 x 12)
·         Snowfall Accents Puff Paint
·         Real Red 1/8” Curly Ribbon
·         Plus, all the Make & Take Kits to do each project. 
·         Envelopes are included in each Make & Take Packet. 
·         Printable PDF Full color Tutorial will be emailed to you along with the link to the class videos.
·         2 FREE VIP Bonus Projects

If you don’t want me to send you any products but you want the tutorial only.  You have the Bundle, the paper, inks, everything you need to make the projects; you can click this option, and email me letting me know you want the tutorial only option.  I will email you the tutorial starting the week of October 22nd.
Option 4:   Team Make and Take Packet $12.00
This option is for my Kinsmon Crafter Team Members only!  As a perk from me they get to order the Make and Take Packets at a discount for my online classes.  Team members can order the make and takes by emailing or private messaging me. 


Host Code to Order With: 


You can purchase all the items needed for this class with the shopping cart link provided here along with using the Host Code SQ2WWJZN at check out.

Additional Supplies Need:  


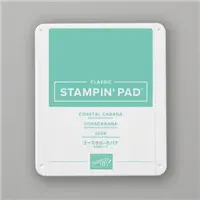
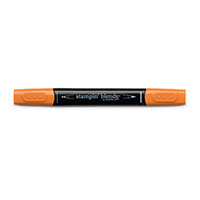
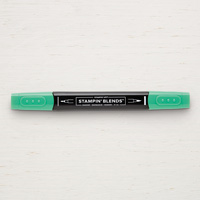
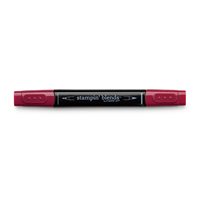
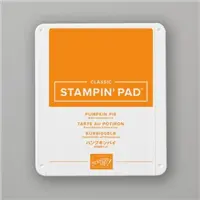
You will provide your favorite Adhesive, Memento Tuxedo Black, Coastal Cabana, Flirty Flamingo, and Blueberry Bushel ink pads.  You will also need a heat tool for this class. Your Favorite Coloring Media:  I used Stampin' Blends for my coloring in Pumpkin Pie, Pool Party, Basic Black, Real Red, and Shaded Spruce, but you can use whatever you like.  
If you already own the Snowman Season Bundle you can substitute it for something of equal or greater value. 

Once you have placed your order using the host code above please Email Rick at rick@rckinsmonstudio.net to verify your register.

Monday, September 30, 2019

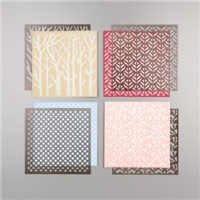
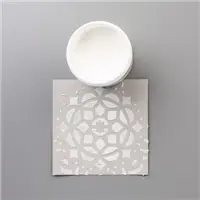
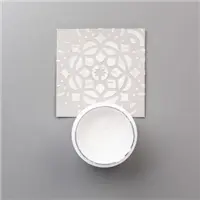
6 Cards Using the Basic Pattern Decorative Masks


Hello and welcome to my blog; today I am going to share with you six cards that I used the new Basic Pattern Decorative Masks from the Holiday Catalog on.  These are not for what you hear the term masks used for all the time.  These are our stencils.  I know you may have been like me when I heard the term I thought "Why in the world do I need something that they use to decorate walls and craft projects with!"  But, I have found masks/stencils are a wonderful tool that allows you to create beautiful cards.  I am going to share six cards with you today, where I used stencils and the same card sketch.  You will notice that by changing up the stamps, colors, papers, and embellishments you can create totally different looks.  Here's a look at all the cards.

Ink Blending:  

One of the techniques you can do with masks/stencils is ink blending through them. It's probably one of the easiest and one of the quickest ways to these little plastic bits of goodness.    And depending on how you use them you can create completely different looks.  You can ink blend through them with many different ways.  You can use a sponge brayer, sponge daubers, sponges, make up brushes, etc.  Here's a look at all the cards where I used ink blending.  


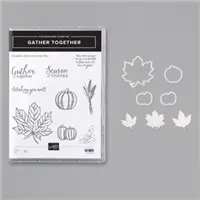
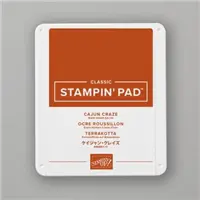
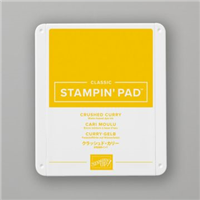
We are going to start with the Fall themed card.  I used one of the decorative masks and ink blended two different colors through the masks.  I used Daffodil Delight and Crushed Curry inks through the masks on a piece of Whisper White.  I attached that to a 5 1/2 x 8 1/2 piece of Crumb Cake.  I added two die cut and embossed leaves and stamped some of the pumpkins and I used wink of stella to color them.  I stamped the sentiment on a piece of Cajun Craze.  
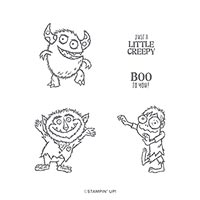
For my Halloween card I used Gorgeous Grape and Granny Apple Green inks on a piece of whisper white.  I colored the little monster form Boo to You using matching Stampin' Blends. If you noticed I let the colors fade out where they meet and transition in to each other.   
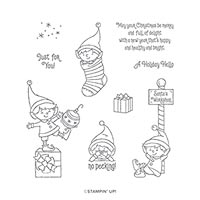
For the Christmas card I used #Elfie and colored one of the little elves and cut him out and popped him on the card.  I used old olive and garden green to stencil the back ground.  
For the snow man card I used the same stencil three different times to create the tree background to give the look of distance.  I used Balmy Blue, Coastal Cabana, and Night of Navy.  I just shifted the stencil over and up each time to get the forest look. I stamped and colored the little snow man and added some of the snow accent puff paint to add some snow.  

Pastes and More: 

On the next two cards I used designer series paper and embossing pastes through the stencils to get the looks.  When using the embossing pastes make sure that you have a pan of water close by so that you can place the stencils in quickly when done other wise it will dry in them and ruin your stencils.  Don't ask me how I know that.  
With this card I used the shimmery embossing paste through the tree stencil.  I just wanted to create something that was sparkly and icy looking.  Once dried I attached it to my card base and added the sentiment.  Once of the best things about the mask backgrounds if you can get so many different looks depending on what you use.  

For this card I used the Follow Your Art Designer Series Paper and the decorative masks.  The embossing paste was tinted with ink refill and then I used vellum and the First Frost stamp set with white embossing to create the focal image.  This helped to draw the eye to the focal images.  

I hope that you liked this quick little post about the using the Basic Pattern Decorative Masks.  If you need any of the supplies I've used today you can find them in the Shopping List below.  I will see you tomorrow with another project and a video.  
Happy Stampin' 
Rick 

If you live in the US.  I would love you to choose me as your demonstrator.  If you would like to purchase any of these products you can click on the Shop Now Button or by clicking on any of the images below.  Alternatively, you can also contact me by email to place your order.  Please be sure to use the monthly host code and I’ll send a little something out to you the following month to say Thank You! 
 Don't forget about my fundraising effort!  When you purchase the Nature's Beauty Stamp Set using the Host Code above from September 28, 2019 until October 10, 2019, I will donating 20% off all the sales from that set to NAMI.  Which is the National Alliance for Mental Illness.  As my gift to you; you will get two VIP Card Kits to go along with the Stamp Set FREE.  My goal is $1500!  Help me help others in need.  Click here to purchase this set.  

Stampin' Up! Shopping List: 

Price: $10.00

Template Designed by creativeworkerbee