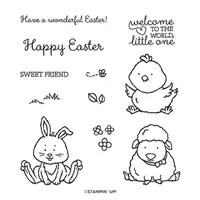
Hello and welcome to my blog; today I am sharing my projects with you from this months One Stamp At A Time (OSAT) Blog Hop. This month our theme is Chick Ewe Out! This is proved to be a super fun theme to play with, and I had a lot of fun creating my two projects for you this month. I used the Welcome Easter Stamp Set from the 2020 January-June Mini Catalog. I also used some "uneggpected" products as well. Plus my card for this months hop has an eggcellent surprise. Here's a look at my projects this month.
Tips & Tricks:
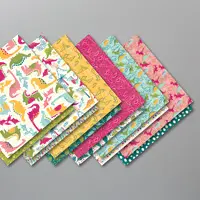
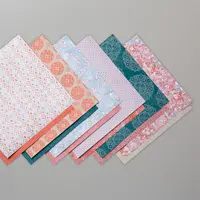
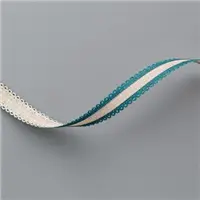
To start I designed my card before I figured out my dimensional project. I started out with a piece of Thick Whisper White Cardstock (5 1/2 x 8 1/2 scored at 4 1/4). I then added a piece of the Dinoroar Designer Series paper; the one with the eggs on it. I then added a super skinny mat of Whisper White and then another mat of Pretty Peacock cardstock on the outside. I then added it the card base. I then added a strip of the Woven Thread Designer series paper to a piece of Pretty Peacock cardstock. On top of this I added some of the Pretty Peacock Scalloped Ribbon along this piece before adding it to the card base.
Use the March Host Code on any order of $50 (before taxes & shipping) or more during the month and receive a free gift from me in April as a Thank You. If your order is $150 or more please don't use the host code. You will forfeit your Stampin' Rewards if you do; and I want you to get those rewards.
If you place any size order with me during the month of March you will receive the March Creative Stampers Tutorial Bundle from me as a little thank you. This month's tutorial bundle features fourteen floral themed tutorials. The Creative Stampers Tutorial Bundle can either be earned for FREE with any size order or Can be purchased for $20 from me.
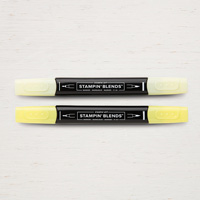
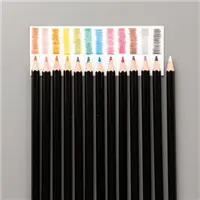
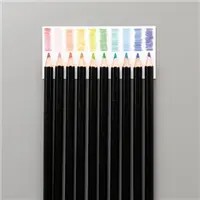
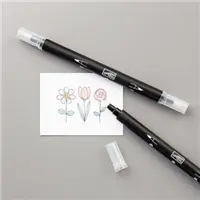
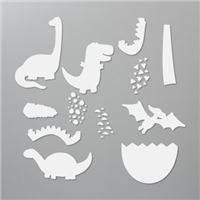
Next I stamped the chick and the sheep from the stamp set and colored them in with my watercolor pencils and used the blender pen to smooth out the color. I then cut out two of the eggs using the egg die from the dino die set. I added a little color around the edges with my Pineapple Punch Blends. I stamped the Sweet Friend sentiment on the front of one of the eggs. I then joined the two eggs with a brad to secure the two pieces together. Add by doing that it allows the egg to do this.
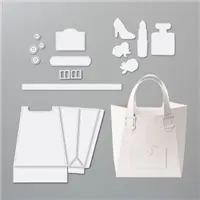
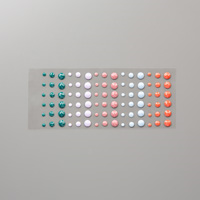
Cute right! Well, I think the 3d project is as cute as the card. I used the purse die from the Dress to Impress Dies and some Pineapple Punch Cardstock to cut out the purse. I then cut out one from the same pattern as the card and cut out along the inside of the stitched lines and trimmed it down just a little from the top so that it would fit on the side of the front. I added a couple of the 2019-2021 In Color Faceted Dots to look as a closer. Then added the little bunny to the front for a fun unexpected touch.
Thanks for dropping by today I hope that you have enjoyed my project today and I hope that you have a fun time hopping along. If you need any of the products you have seen today, you can pick them up in my online store by clicking on the shopping list below.
Blog Roll:
Happy Stampin'
Rick Adkins
Use the March Host Code on any order of $50 (before taxes & shipping) or more during the month and receive a free gift from me in April as a Thank You. If your order is $150 or more please don't use the host code. You will forfeit your Stampin' Rewards if you do; and I want you to get those rewards.
If you place any size order with me during the month of March you will receive the March Creative Stampers Tutorial Bundle from me as a little thank you. This month's tutorial bundle features fourteen floral themed tutorials. The Creative Stampers Tutorial Bundle can either be earned for FREE with any size order or Can be purchased for $20 from me.


