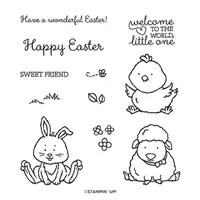
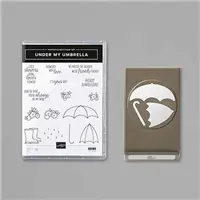
Hello and welcome to my blog; today I am going to share with you a super cute card using the Under My Umbrella and Welcome Easter Stamp Sets. I created a super cute Easter Card for today's project and I made it rain in the background. Basically because it seems to rain every Easter here where I live. At least for part of the day anyways. Here's a look at my card.
Showing posts with label Under my Umbrella bundle. Show all posts
Showing posts with label Under my Umbrella bundle. Show all posts
Wednesday, March 11, 2020
Have a Wonderful Easter - Welcome Easter Stampin' Up!
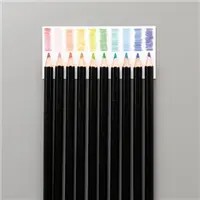
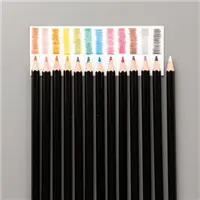
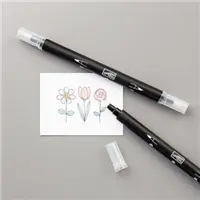
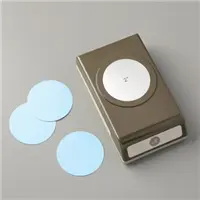
To start off I stamped all the images in Tuxedo Black ink and heat set the ink so that I could do a little coloring with my watercolor pencils. I used both sets of watercolor pencils for the coloring, and once I had everything colored I used my blender pen to moisten the pigment of the pencils to give it a watercolor look. Once the watercoloring was complete I cut out all the little animals and used the Umbrella Punch to punch out the Umbrellas.
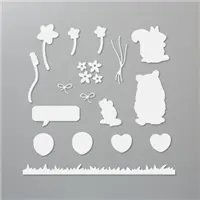
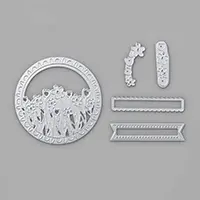
Next I used the grass die from the Special Day Die Set and the flowers from the Sending Flowers Dies (both are part of the Coordinating Product Release) to cut out the grass and the flowers for my cards. After that I took a piece of Whisper White and did a little ink blending for the background sky. After that I took the Basic Pattern Stencils (the Clouds pattern) and stenciled on some darker blue at the bottom of each cloud and whisper white craft ink on the top to add a little variation. Then I stamped some rain drops in Balmy Blue ink and attached the grass die cut. I added a little grass that that I stamped to this area to add a little extra to it.
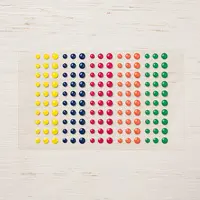
To finish off my card I added the cut out animals and umberas along with the flowers to the card front. To make it so the tulips were not floating in air I added stems to each with my granny apple green stampin' write marker, and some of the Happiness Blooms Enamel Dots to the center of the flowers. I added the sentiment on a piece of whisper white cardstock stamped in Balmy Blue and cut it out with \the banner die from the Sending Flowers Dies.
Thanks for dropping by today, I hope that you have a wonderful day. If you need any of the supplies I used to create this card you can pick them up in my online store by clicking on the item in the supply list below. Make sure you join my this afternoon on my Facebook page for this weeks Facebook Live mini Class featuring the Welcome Easter Stamp Set.
Happy Stampin'
Rick Adkins
Tuesday, January 28, 2020
Treat Week 2020 #2 - UNDER MY UMBRELLA & Pleased As Punch Box
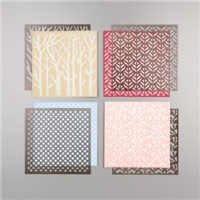
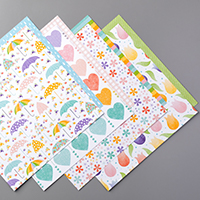
Hello and welcome to my blog; today I am going to share with you the next project in my Treat Week 2020 series. Treat Week is my week long series sharing different treat packaging and projects. Each day this week I will be sharing a new video tutorial along with coordinating blog post. For today's project I made this super cute box that's a great size. I used new projects form the Coordinating Product Release (Pleased As Punch Designer Series Paper) that's coming on February 4, 2020, along with the Under the Umbrella bundle. This box will hold a lot of treats due to it's size. Which by the way measures 5" x 3" x 1 1/2", so you can see its a good size. Here's a look at my project.
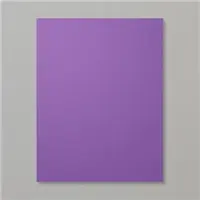
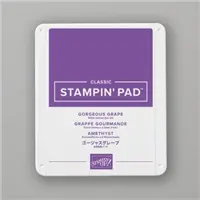
I used one piece of cardstock to make this box. I used a piece of Blushing Bride for the pink box and Gorgeous Grape for the purple box. Both boxes was made with a piece of cardstock measuring 8 x 10 1/2". I scored each piece on the longside at 1 1/2, 4 1/2, 6, 9. Then I scored on the short side at 1 1/2 & 6 1/2. Once I had the cardstock cut and scored it was time to cute the designer series paper. For this box you need the following designer series paper; (2) 2 3/4 x 4 3/4, (2) 1 1/4 x 4 3/4. and (1) 2 3/4 x 1 1/4.
Video Tutorial:
If you are viewing this post by email you may have to click here or click on the image below to view the video.
Thanks for dropping by today for the second post for this week's special series. I am have a lot of cute projects that I am excited to share with you this week. Remember that the Pleased as Punch Designer Series Paper will be available on February 4, 2020. Everything else is available in my online store you can click on the item in the Stampin' Up! Shopping List below to order. You will be taken directly to my online store.
Happy Stampin'
Rick Adkins
Join my team during Saleabration and you will get the super cute Mini Cutter and the DSP Sampler Pack free in your Starter Kit along with a Free Paper Pumpkin, Business Pack, a FREE Stamp Set of your Choice in addition to the $125 of product of your choice for $99.00 with Free Shipping. That's $277.75 of products and supplies for only $99.00 (Price includes the Well Said Stamp Set (most expensive in catalog) plus 9% sales tax)
Stampin' Up! Shopping List:
Subscribe to:
Posts (Atom)
BLOG ARCHIVES
-
►
2021
(222)
- December (16)
- November (17)
- October (21)
- September (23)
- August (13)
- July (18)
- June (26)
- May (26)
- April (15)
- March (6)
- February (19)
- January (22)
-
►
2020
(303)
- December (18)
- November (27)
- October (22)
- September (16)
- August (30)
- July (24)
- June (14)
- May (30)
- April (28)
- March (33)
- February (29)
- January (32)
-
►
2019
(318)
- December (23)
- November (31)
- October (37)
- September (26)
- August (28)
- July (28)
- June (32)
- May (20)
- April (28)
- March (34)
- February (26)
- January (5)


