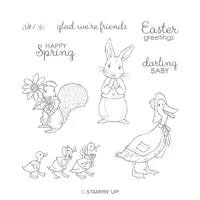
Hello and welcome to my blog and YouTube Channel; today I am going to share with you how I decorated a sweet cup a couple weeks ago for a blog hop. I used the Fable Friends Stamp Set and some acrylic paint. The acrylic paint that I used was from Arteza.
I was asked to review the Arteza Acrylic Paints and I had to come up with a way to do it and Incorporate Stampin' Up! as well. It was super easy to come up with a project to do this. I admittedly thought about a project that I did in the 5th or 6th grade in art class. The art teacher had us paint ice cream containers. This project stuck with me and I had to recreate it using the great Arteza paint and a sweet cup. Here's a look at the finished project.
Yes I am loving the quality of the Acrylic paint from Arteza it has a great body and painted easily. So I would highly recommend it. Using this paint was even easy to stamp on top of and paint it in as you can see in the video tutorial about how I painted the sweet cup.
Video Tutorial:
Tips & Tricks:
- I did cover the sweet cup with a very thin coat of Gesso (which is a hard compound of plaster of Paris or whiting in glue, used in sculpture or as a base for gilding or painting on wood canvas or paper.) When you do this before you add acrylic paint It will take less paint to cover the surface and provides a better archival surface.
- After the gesso was dry I painted in the background. Using a mixture of blues and greens. I also added a little yellow to the green to create different shades.
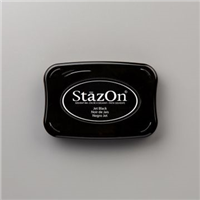
- I stamped the image in archival black ink (yes I kept mine) but you could use stazon instead. You do have to let the ink dry before painting.
- The Arteza acrylic painted very well, much like I have found in more expensive paint. I also blended with ease. I could also paint dark to light without a problem.
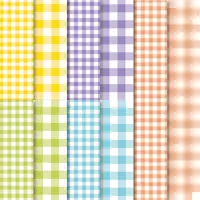
- To finish off the sweet cup after it dried I added a couple strips of the gingham gala designer series paper around the rim.
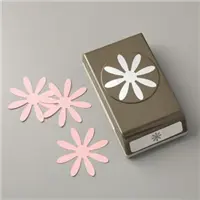
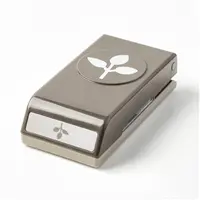
- To decorate the top I cut out a circle from matching cardstock and placed it on top. I then punched four daisies using the daisy punch and the same gingham designer series paper. I curled the ends up and down on some of the layers using my bone folder. I added a clear faceted gem to the top, and a few leaves punched with the leaf punch under it.
- I layered each daisy up with mini glue dots and stampin' dimensionals.
- The handle was made with a little cardstock and was secured with tear & tape.
Rick Adkins


