Tuesday, January 11, 2022
Friday, June 21, 2019
Blessed and Grateful featuring To A Wild Rose Stamp Set by Stampin' Up!
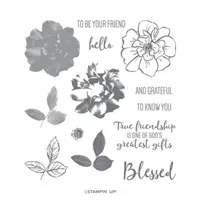
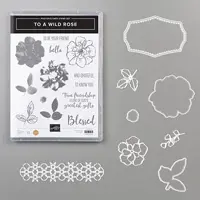
Hello and welcome to my blog; today I am going to share with you a very pretty card featuring the To a Wild Rose Stamp Set from Stampin' Up!. The To a Wild Rose stamp Set is the Million Dollar Achiever set Inspired by Mary Ellen Byler. Once a demonstrator hits a Million Dollars in sales they get to go to the home office in Riverton Utah for a special trip and they get to help design a stamp set. Isn't that just the coolest thing. Mary Ellen has spoken about her set and how it was inspired by her Grandmother who always grew roses. I thought that little story and the stamp set both was so cute and wonderful. It made me want this set even more; not that I didn't already want it when I saw it in the catalog. And, it was a three step stamp set plus matching dies; it was a no brainier. Here's a look at my card.
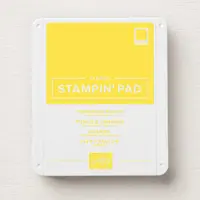
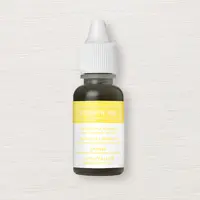
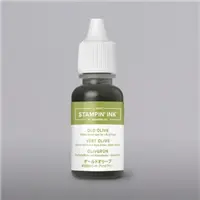
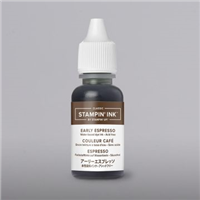
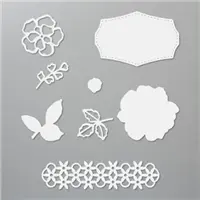
I started off by stamping the most solid image of the rose but before I stamped it on my project I had to stamp off one time to get the excess ink off. I wanted it to be a very light shade of Pineapple Punch. The next layer (the next solid rose stamp) was stamped at full strength. The outline image was stamped with just Early Espresso. For the leaves I only stamped with the second solid image full on straight from the ink pad in Old Olive. And, the out line in Early Espresso. Once I had the three flowers and leaves done on my card front I then stamped a few extras so I could cut out using the matching Wild Rose Dies. If want this set make sure you get it with the Cost saving bundle code in the catalog or in my online store. Why not save that extra 10%.
Before I stamped the Blessed and Grateful Stamps I laid out my die cut rose and leaves to make sure I had the perfect placement. Once I was sure I did I stamped the Blessed first in Early Espresso and then stamped the and Grateful sentiment under it and slightly to the right of the card front.
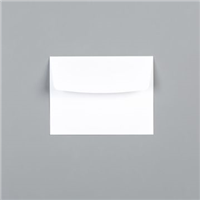
I layered my card front (4 x 5 1/4) onto a Old Olive mat cut at 4 1/8 x 5 3/8, and attached it my Pineapple Punch card base (5 1/2 x 8 1/2 scored at 4 1/4). I then needed to stamp the inside of my card and so I added one rose and a few leaves at the top of a whisper white panel and attached it to the inside. To finish off the presentation of my card I stamped the envelope to match. Because, you should never send a naked envelope.
Well, that finishes my Blessed and Grateful Card using the stamp set To a Wild Rose. I hope that you like it and if I have inspired you to give it a try. If you don't have a demonstrator you work with I would love to earn your business. You can pick up all the supplies I used today in my online store by clicking on the item in the shopping list below. I will be back tomorrow with the next episode of Saturday Simple Stamping see you then.
Rick
Host Code and Free Gift:
Stampin' Up! Shopping List:
BLOG ARCHIVES
-
►
2021
(222)
- December (16)
- November (17)
- October (21)
- September (23)
- August (13)
- July (18)
- June (26)
- May (26)
- April (15)
- March (6)
- February (19)
- January (22)
-
►
2020
(303)
- December (18)
- November (27)
- October (22)
- September (16)
- August (30)
- July (24)
- June (14)
- May (30)
- April (28)
- March (33)
- February (29)
- January (32)
-
►
2019
(318)
- December (23)
- November (31)
- October (37)
- September (26)
- August (28)
- July (28)
- June (32)
- May (20)
- April (28)
- March (34)
- February (26)
- January (5)

