Showing posts with label Baby Card. Show all posts

Thursday, July 15, 2021

A2 All for Baby Pinwheel Tower Card Video Tutorial

Hello and welcome to my blog; during my Facebook Live last night I shared how to make an A2 Pinwheel Tower card featuring the All for Baby Bundle from the 2021-2022 Stampin' Up! Annual Catalog. Pinwheel tower cards are all the rage right now and are actually a lot easier to make than you may think.  It did take me a little time to sit down and figure out the measurements to make it fit into a Medium Basic White Envelope but I did figure it out.  Here's a look at my card.  

Learn how to make an A2 Pinwheel Tower Card featuring the All for Baby Bundle from Stampin' Up!

Friday, April 3, 2020

April 2020 Blogging Friends Blog Hop: Baby Come Rockin'


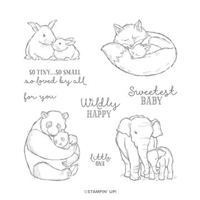
Hello and welcome to this month's Blogging Friends Blog Hop.  This month is all about baby cards.  Last month the theme was all about weddings so I thought it would be a good time to share some baby cards.  For my baby card I went with a stamp set that when I saw it last April at OnStage I wanted it so bad.  I wanted it because I thought it was just the cutest thing ever with the mother and baby animals together.  The way they were showcased on the stamp set just made me fall in love with it.  So I thought the Wildly Happy Stamp Set would be a super great choice for my baby card for this month's hop.  Here's a look at my card.  

Color Choices: 

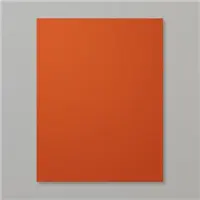
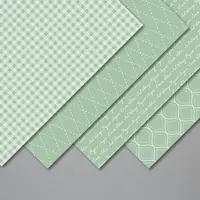
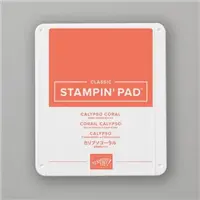
I started off after picking the stamp set with what colors to use.  I wasn't exactly sure on which of the super cute mother and baby animal image I was going to use for my card yet so I wasn't sure on the colors to use.  So I started looking at color options.  I thought about going either a traditional color scheme for a baby boy or baby girl.  But, I really didn't want to go very traditional; that and I really didn't think either of those would have fit with my super cute animal stamp I knew I wanted to use.  So then I thought about maybe a yellow, which would have went with the images in the set but I just wasn't feeling it.  So I did decided to go with a green.  I picked Soft Sea Foam.  I decided to match the Soft Sea Foam with Cajun Craze Calypso Coral and a little Crumb Cake.  

Tips & Tricks: 

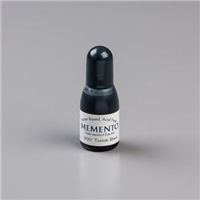
Once I had the stamp set and the color combination nailed down it was time to pull products to go along with them.  I pulled my Subtles 6x6 Designer Series Paper, a few of the Basic Adhesive Backed Sequins, Stitched Shape Dies.  I figured that along the way I would end up using a few more supplies depending on what I did.  I decided to cut down a piece of the Soft Sea Foam gingham DSP from the Subtles Pack to 3 3/4 x 5.  At this point I narrowed it down to using the Foxes from the stamp set.  With the colors picked picking the stamped image was easy.  I attached the DSP to a piece of Cajun Craze Cardstock cut at 4 x 5 1/4.  I stamped the foxes onto a piece of Whisper White Cardstock in Memento Tuxedo Black Ink because I knew I was going to color them with my Stampin' Blends.  


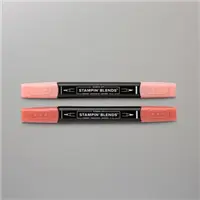
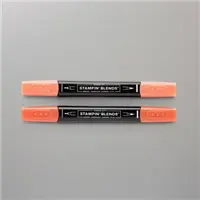
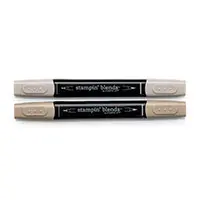
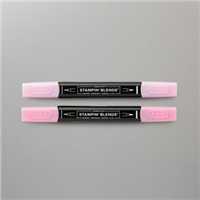
After stamping the foxes I started coloring them.  I decided to color the momma fox with Cajun Craze.  I started by adding the Dark Cajun Craze Stampin' Blend to where I wanted the shadows to be.  If you think about it they will go where the baby fox would be in the mommas embrace and where there were folds in the body.  Once I had the shadows in place I added the Light Cajun Craze Stampin' Blend to blend out the shadows and to add highlights to the fox.  I then colored the baby fox with Calypso Coral Stampin' Blends in the same manner.  Starting with the Dark Calypso Coral Stampin' Blend and then blending out with the Light Calypso Coral Stampin; Blend.  To finish off the coloring I added just a little Light Smoky Slate Stampin' Blend to the areas where the lines indicated on the image.  I did add just a teeny tiny bit of Petal Pink Light Stampin' Blend in the ears.  


Once the coloring was complete I took the large stitched oval from the Stitched Shape Dies and cut the foxes out.  Then I took a large scalloped oval from the Layering Oval Dies to place behind my foxes.  I attached the two together with a little liquid glue.  I then stamped the sentiment Sweetest Baby in Calypso Coral Classic Ink and used one of the stitched circles dies from the Stitched Shapes Dies to cut out the sentiment.  I popped the oval using Stampin' Dimensionals.  I placed the stitched circle with the sentiment on the card front and slide it just slightly under the oval.  To finish off the card I added it to a 4 1/4 x 11 card base made from Crumb Cake Cardstock.  To give it the little extra touch I added some of the Basic Adhesive Backed Sequins to the card front and made a double bow of Linen Thread and attached it to the card using  a mini glue dot.  

Blog Hop: 


Happy Stampin' 
Rick Adkins 

Use the April Host Code on any order of $50 (before taxes & shipping) or more during the month and receive a gift from me in May as a Thank You.  If your order is $150 or more, please don't use the host code.  You will forfeit your Stampin' Rewards if you do; and I want you to get those rewards.
 

If you place any size order with me during the month of April, you will receive the April Creative Stampers Tutorial Bundle from me as a little thank you.  This month's tutorial bundle features eleven tutorials that use the outgoing 2018-2020 In Colors.  The Creative Stampers Tutorial Bundle can either be earned for FREE with any size order or Can be purchased for $20 from me.

Stampin' Up! Shopping List: 


Monday, February 10, 2020

Welcome To the World Little One - Welcome Easter

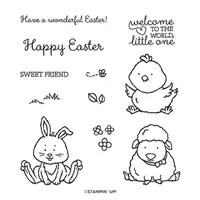
Hello and welcome to my blog; today I am going to share with you the card I made for Charles to send to a relative that me made a baby blanket for.  She's going to have a baby girl very very soon and he knitted her a super cute blanket.  So, he needed a super cute baby card to go along with it.  I used the Welcome Easter stamp set to create my card today.  Here's a look at my card.

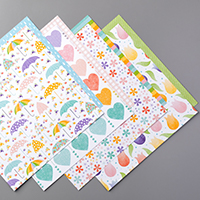
I picked the Welcome Easter stamp set because it has such super cute images that can be used for not only Easter but for baby cards as well.  It also has a sentiment that's just perfect for a new baby.  I punched out three circles from the plaid pattern designer series paper from the Pleased as Punch Designer Series Paper.  I used a 2" circle punch for the top two and a 1 3/4" circle punch.  I layered the designer series paper on top of the whisper white cut 5 3/8 x 4 1/8.   I then traced the circles with a pencil lightly.  So that I knew where to stamp the super little creatures.
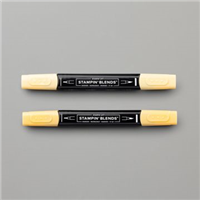
I stamped the three little creatures in tuxedo black.  I then colored each of them with my selected Stampin' Blends.  I started out by coloring the bunny with Crumb Cake, and I then colored the background of the circle with So Saffron.  I then colored the little lamb with Purple Posey and colored the background circle with Flirty Flamingo.  I added just a touch of the Rococo Rose blend to the bow tie, and crumb cake to the nose.  For the little chick I colored her in So Saffron, and Rococo Rose on the comb and pumpkin pie for the beak.  I colored the background of the circle in Purple Posey.  After that I added the designer series paper over the whisper white colored layered with a little liquid glue.
I added the card front to a Whisper White Thick Card base cut at 4 1/4 x 11 scored at 5 1/2.  I added the panel to the card front with Stampin' Dimensionals.  I then stamped the sentiment to the inside of the card with Petal Pink ink to match the outside.  I added a few Champagne Rhinestones to add just a little bling to the card.

Card Recipe: 

You can save this image to your Pinterest boards to remember the key items I used to make today's card.  Thanks for dropping bye today I will see you a little later today with another blog post for Kylie's Training blog hop.  If you need any of the supplies that I used today you can order them in my online store 24/7 by clicking on the items in the shopping list below. 
Happy Stampin' 
Rick Adkins 

Stampin' Up! Shopping List: 


Join my team during Saleabration and you will get the super cute Mini Cutter and the DSP Sampler Pack free in your Starter Kit along with a Free Paper Pumpkin, Business Pack, a FREE Stamp Set of your Choice in addition to the $125 of product of your choice for $99.00 with Free Shipping.  That's $277.75 of products and supplies for only $99.00 (Price includes the Well Said Stamp Set (most expensive in catalog) plus 9% sales tax) 


Receive the February Creative Stampers Tutorial Bundle with any size order!  This month our tutorial bundle has 17 tutorials  featuring projects using Sale-a-bration Items!  

Template Designed by creativeworkerbee