Thursday, March 25, 2021
Saturday, August 15, 2020
The Right Triangle & Massive Thanks Thank You Card
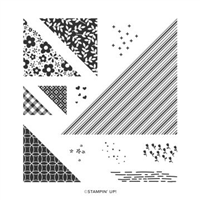
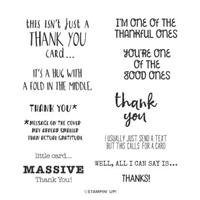
Hello and welcome to my blog; today I have a super cute little card for you that features two new stamp sets from the Stampin' Up! Annual Catalog. That is so easy to make that it will blow your mind. I used both The Right Triangle and Massive Thanks Stamp set to create my card. Here's a look at today's card.
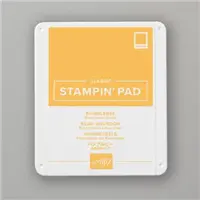
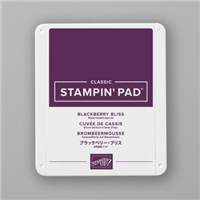
This card is all about stamping in both first and second generation stamping. It does have a little die cutting but nothing to bad. Actually it has only one die cut element to the card. The Right Triangle Stamp Set is a beautiful geometric set that allows you to create anything your mind can come up with. my card today looks like a quilt. And, that's all because of how I stamped everything. I only used three colors for the stamping, Bumblebee, Blackberry Bliss, and Old Olive. Those are the only inks that I used. And for the cardstock I did add in Whisper White.
This entire card is based on how you arrange the three different triangles from the Right Triangle Stamp Set. I only used these colors and it was all stamped by hand. I just made sure everything was lined up. The lighter yellow is just Bumblebee Ink Stamped off onto scratch paper one time. I found it easier to stamp one section first then move on to the next color in that same section.
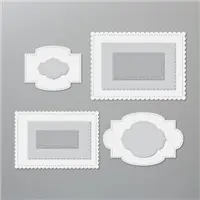
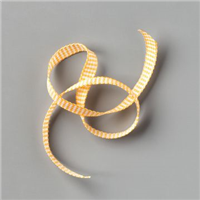
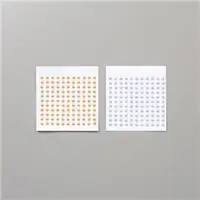
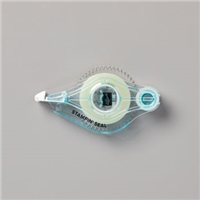
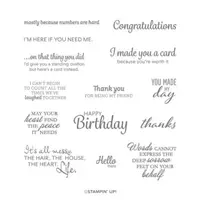
Once I had all the triangles stamped in the pattern I wanted I just trimmed my panel down. I then layered it onto a piece of Bumblebee Cardstock cut at 4 1/8" x 5 3/8" and placed it onto a Old Olive Card base (4 1/4 x 11). Before glueing it down I did wrap the Bumblebee Gingham Ribbon around the layer and tied it into a bow. And add the sentiment from the Massive Thanks Stamp Set which was cut out using the Stitched So Sweetly Dies. I also added a few Metallic Gold Pearls to the card.
Project Recipe:
Happy Stampin'
Rick Adkins
Use the Host Code on any order of $35 (before taxes & shipping) or more by August 14th and receive my August Monthly Card Class Kit & Invitation to my Zoom Live Class featuring the Ridiculously Awesome Stamp Set as a Thank You. ($25 value) In the Kit you will receive the supplies to make four different card designs. If your order is $150 or more, please do not use the host code. You will forfeit your Stampin' Rewards if you do; and I want you to get those rewards. Monthly Card Class Kits will be mailed to you by August 22nd.
If you place any size order with me during the month of August, you will receive the August Creative Stampers Tutorial Bundle from me as a little thank you. This month's tutorial bundle has ten project tutorials that feature our favorite new Cozy Critters products from one of the new Stampin’ Up! Catalogs. The Creative Stampers Tutorial Bundle can either be earned for FREE with any size order or Can be purchased for $22 from me.
I am very close to earning the 2021 Stampin' Up! Incentive Trip to Maui and your orders can help me get there. I am running a few special promotions until the end of September to not only help me earn this trip but to help you save a little cash as well. I am kicking off my Maui of Bust Promotions with a Mega Holiday Embellishment Product Share. The deadline to take part in the Mega Holiday Embellishment Product Share is August 21, 2020. You can check out what's all included in this Mega Holiday Embellishment Product Share by clicking here. I will have a new smaller promotion each week that runs from Tuesday of one week till Monday of the following week. So be watching for those as well. Some promotions will only last a couple days.
With each $1000 I earn I will be cutting off a chain from my Maui or Bust Countdown Chain. I got to cut the first one off the other day during my Live Video.
Rick Adkins
Stampin' Up! Shopping List:
August 15, 2020 2020-2021 Stampin' Up! Annual Catalog, Card making, papercrafts, Stampin' Up! Leave a Comment
Tuesday, July 14, 2020
Forever Blossoms - The Spot Challenge #119
Hello
and welcome to my blog; today I am here to share with you my card for this week’s
Creative Challenge over at The Spot.
This week we have a fun little color challenge for you to play along
with. The card that I designed for this
week’s color challenge started out as a completely different card than what I ended
up with. I designed a different card to
use but the more I thought about my original card today the less I liked it. So, at the last minute I scrapped my card and
created a completely new one and I love what I came up with. Here is a look at my new card for this week’s
challenge.
On
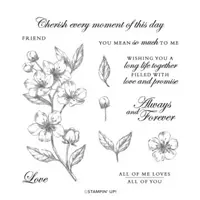
my new card I started out by using my Stamparatus and stamped the floral image
from the Forever Blossoms Stamp set in Tuxedo Black ink. I stamped it twice on the same sheet of Thick
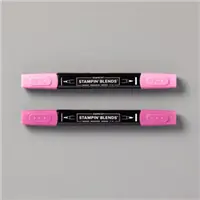
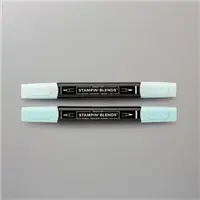
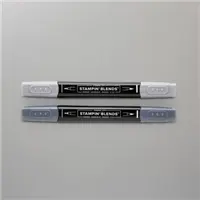
Whisper White Cardstock by turning it around to the other side. I then took my Stampin’ Blends in Pool Party,
Magenta Madness, and Basic Black to do my coloring.
I
debated if I wanted to color each floral image the same way or change it up
slightly but ended up deciding that it would be better for my design if they
were colored the same. Once all my color
was complete, I put my stamped images back into my Stamparatus and stamped the images
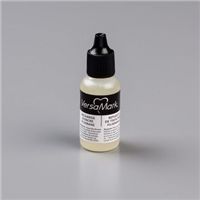
again in Versamark Ink. I made sure to
leave my stamp in the same position as when I first stamped it so that it would
be easier to line everything back up.
Once
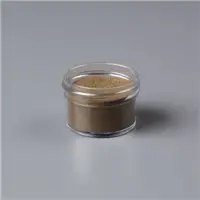
I had the images stamped again, I added some Gold Stampin’ Emboss Powder and
heat set them. One the melted powder had
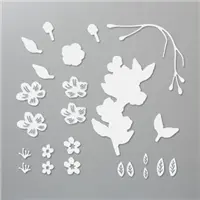
cooled I took them out and used the matching dies to cut each image out. At this point I cut a piece of Basic Black Cardstock
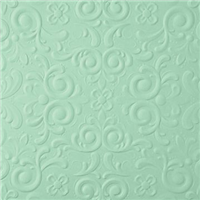
to 4 x 5 ¼ and used the Parisian Flourish 3D Embossing Folder and embossed it. I then added this to a Magenta Madness layer
that was cut to 4 1/8 x 5 3/8.
Next,
I stamped my sentiment in Versamark and used the same embossing powder and heat
set that. I used the Layering Circles
Dies to cut it and a scalloped circle from Pool Party Cardstock out. I layered them together and added them to the
front of the card with Stampin’ Dimensionals.
I then added the flowers with Stampin’ Dimensionals as well around the sentiment. To finish off my card I added a few of the Gold
Metallic Pearls sprinkled around the card.
Here
is a look at the challenge image that inspired my color pallet today. I hope that you will take time and play along
with us this week over at The Spot. You
can check out what the other design team members came up with using this color
combo by clicking here.
Thanks
for dropping by. If you need any of the
supplies you have seen today you can pick them up in my online store in the shopping
list below.
Rick Adkins
Stampin' Up! Shopping List:
BLOG ARCHIVES
-
►
2021
(222)
- December (16)
- November (17)
- October (21)
- September (23)
- August (13)
- July (18)
- June (26)
- May (26)
- April (15)
- March (6)
- February (19)
- January (22)
-
►
2020
(303)
- December (18)
- November (27)
- October (22)
- September (16)
- August (30)
- July (24)
- June (14)
- May (30)
- April (28)
- March (33)
- February (29)
- January (32)
-
►
2019
(318)
- December (23)
- November (31)
- October (37)
- September (26)
- August (28)
- July (28)
- June (32)
- May (20)
- April (28)
- March (34)
- February (26)
- January (5)


