Now, if you're anything like me, you know the joy that comes from crafting something special for your loved ones during the holidays. There's just something magical about a handmade card that warms the heart, don't you think?
Gathering Your Materials:
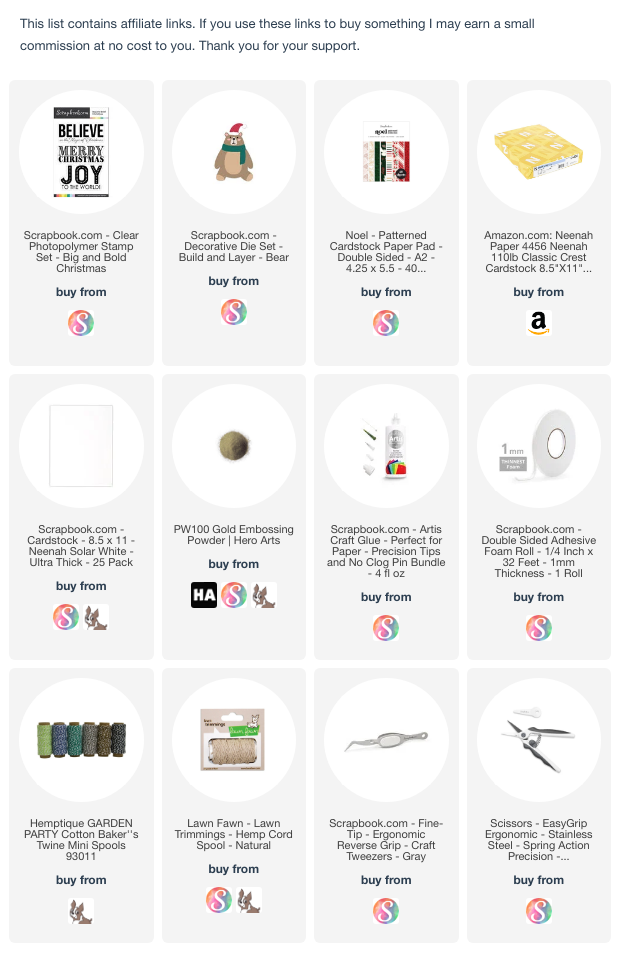
Before we dive into the creative process, let's make sure we have all the essentials. Grab your favorite holiday tunes, a hot cup of cocoa, and let's get started! You'll need the Build & Layer Bear Die, the Big & Bold Christmas Stamp Set, and the gorgeous Noel Pattern Paper Pad from Scrapbook.com.
Pro tip: As you gather your materials, let your mind wander a bit. I always find that the right color scheme starts forming in my head as I collect my supplies. It's like the crafty elves in my brain are already at work!
Preparing Your Workspace:
Now, let's talk about setting up your creative haven. I don't know about you, but my crafting space tends to get a bit chaotic during the holiday season. Okay who are we kidding if you know me you know it gets chaotic during any crafty time. To keep things organized, I like to have all my materials laid out and ready to go. Clear some space on your desk, fire up that die-cutting machine, and let the crafting festivities commence!
And hey, don't be afraid to let your holiday spirit shine through in your workspace. A string of twinkling lights or a festive candle can really set the mood for a crafting session filled with joy.
Crafting the Bear Die:
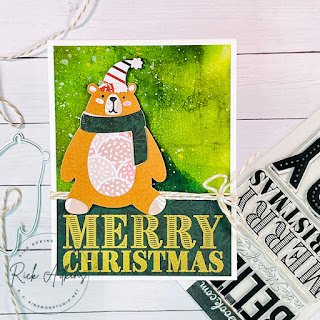
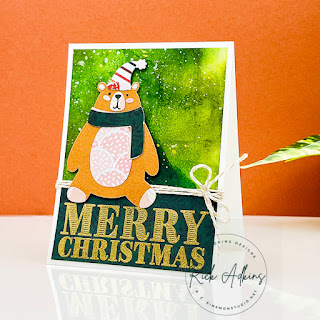
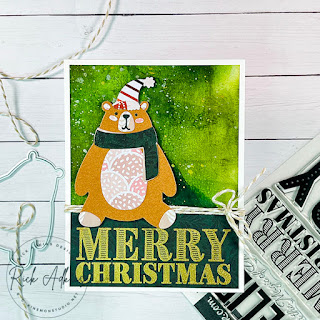
Alright, time to meet our star of the show – the Build & Layer Bear Die! This little guy is the epitome of cuteness, and the possibilities are endless. As you cut out the pieces, feel free to mix and match to create a bear that's as unique as the person receiving the card. It's like giving your bear its own little personality!
Creating a Background with Noel Pattern Paper Pad:
Now, let's talk about the backdrop for our festive bear. The Noel Pattern Paper Pad from Scrapbook.com is a treasure trove of holiday patterns. I like to think of it as my go-to holiday playlist – it's got all the classics, and you can mix and match to create something truly special.
On the Card front I used one of the Gel Prints from my stash that I will add a piece of the Noel Pattern Paper cut down. And it actually was perfect because it had similar colors in the gel print. Total accident by the way. I did the gel print before I had the Noel Patter Paper Pad.
As you play around with the patterns, consider how they complement each other. It's like putting together a festive outfit – you want everything to coordinate, but a little pattern mixing never hurt anyone!
Stamping and Heat Embossing:
Time to add a bold statement to our card with the Big & Bold Christmas Stamp Set. Choose a sentiment that captures the holiday spirit you want to convey. I usually go for something classic like "Merry Christmas" or "Joy to the World." Now, here's where the magic happens – heat embossing with gold powder.
I remember the first time I tried heat embossing; it felt like I was adding a touch of holiday magic to my cards. The gold embossing powder gives a luxurious finish that elevates the entire design. It's like giving your card a little sprinkle of holiday glam!
Assembling Your Card:
With all the elements ready, it's time to bring our card to life. Arrange the bear, sentiment, and background in a way that feels balanced. Don't be afraid to play around and shift things until it looks just right. Remember, there are no crafting mistakes, only happy accidents!
And speaking of happy accidents, I once had a card that didn't turn out as planned, but a strategically placed ribbon and a few sequins turned it into a masterpiece. So, embrace the unexpected – you might discover a new favorite technique!
Personalizing and Adding Finishing Touches:
Now comes the fun part – personalizing your card. Add a touch of glitter, some sequins, or a festive ribbon to make it uniquely yours. I always say, a little extra sparkle never hurt anyone, right? I decided to add a little baker's twine from my stash around my card front.
As you put the finishing touches on your creation, take a step back and admire your handiwork. Remember, each card you make is a little piece of your heart, and that's what makes it truly special.
And there you have it, a one-of-a-kind Christmas card that's sure to spread joy to whoever receives it. Handmade cards have a way of capturing the spirit of the season, and this project with the Build & Layer Bear Die and Big & Bold Christmas Stamp Set is no exception.
As we wrap up our crafting session, I encourage you to share your creations with the world. Tag Scrapbook.com and use those crafting hashtags to connect with a community of fellow card makers. After all, the joy of crafting is even better when shared!
Now that you've conquered the Build & Layer Bear Die and the Big & Bold Christmas Stamp Set, why not explore more amazing products from Scrapbook.com? Head over to their website for inspiration, tutorials, and a treasure trove of crafting goodies.
Until next time, happy crafting and may your holidays be filled with joy, creativity, and lots of handmade love!
Pin Me:
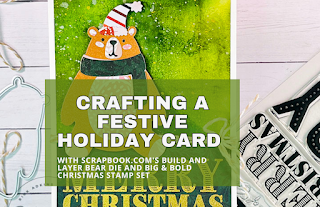
I have created a image that you can pin to your favorite Pinterest board below. Feel free to pin this image to remind you to come back and check out the details in this blog post if you need a little extra help. You can also check out my other pins here!
Happy Stamping
Rick
Supplies Used:





0 Comments:
Post a Comment
Thanks for taking the time to leave a comment.
Much Love,
Rick