Hello and welcome to my blog; I am working on getting back onto my schedule after the surgery. So I have a SIP Card for you today since this is Simple Sunday! If you are not sure what I mean by SIP card this is a simple stamped card that uses stamps, inks and paper. For this weeks card I crafted up a super sweet little birthday card to share using the Sweets & Treats Stamp Set from the July-December Mini Catalog. Here's a look at the card.
Tips & Tricks:
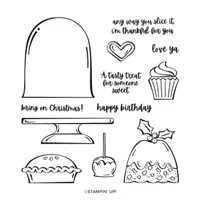
Crafting is even sweeter when you use the Sweets & Treats Stamp Set. The open line-art images are perfect for coloring or to create a SIP card with. Finish off your projects with thoughts for birthdays, thanks, Christmas, and love. You can also stamp directly on gift boxes to create delicious packaging for goodies. Or use on tags and cards as a tasty finish on a gift. This stamp set has 12 photopolymer stamps included. Here's a look at the super cute little stamp set. By the way this set coordinates with both the Gingerbread and Peppermint Product Suite, the Cloche Dies, and Cloche Shaker Domes from the Mini Catalog. You can find this set on page 11 of the July-December Mini Catalog if you have a copy if not you can click here to see and purchase it in my online store.
 |
| Image by Stampin' Up!® |
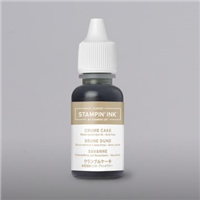
Okay so now back to todays SIP card. I started out todays card by cutting a piece of Crumb Cake Cardstock to 4 1/4" x 11" and scored and folded it in half at 5 1/2". Next I used a Crumb Cake Classic Ink Pad and inked up each of the sweet little treat images from the stamp set and stamped them around my card base to create a pretty little decoration.
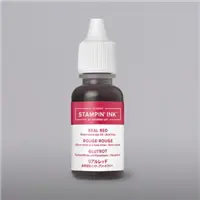
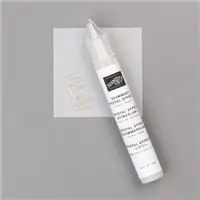
I then stamped the little heart from the stamp set in Real Red Classic Ink on a scrap of Real Red Cardstock and used my Paper Snips to fussy cut it out. I then added some Shimmery Crystal Effects to the center of the stamped heart and set it aside to let it dry for a few hours. The Shimmery Crystal Effects allows you to add subtle sparkle to your project with white and silver craft glitter flecks in this glossy lacquer. The small, thin tip makes it easy to outline stamped images or add detail like I did on the heart. But be aware that it may cause smearing when applied directly to ink. The shimmery flecks display better on darker colored cardstock like the Real Red Cardstock that I used today.
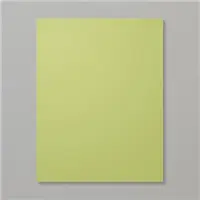
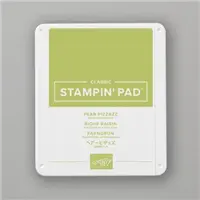
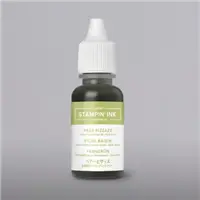
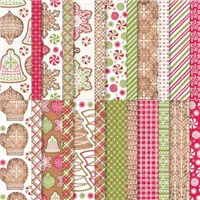
While the Shimmery Crystal Effects covered heart was drying I moved on to the rest of the card. I stamped my happy birthday sentiment on a scrap of Pear Pizzazz Cardstock in Pear Pizzazz Classic Ink and cut a little angle on the end for a little detail. Just a little tip for you say you don't have that many ink colors you can use a Versamark (which is a clear sticky watermark ink used for heart embossing) to get the same look, or even a few Stampin' Write Markers in the same cardstock colors. I then added a strip of the Gingerbread and Peppermint Designer Series Paper (which was also a scrap piece left over from another project) to the card front before adding the sentiment. Once the heart was dried I added it to the card front with a Stampin' Dimensional to finish off the card.
Thanks for dropping by and make sure that if you want to get your hands on this fun little stamp set you will want to order it ASAP. I will have a link below to order all the supplies that I used to created this card in the Stampin' Up! Shopping List posted below. If your order is over $50 (before shipping and taxes) and you use the host code this month I will send you a little gift as a thank you. You can always find the latest host code in the side bar to the right on my blog. Click here to shop with the September 18th - October 15th 2021 Host Code FTY4RRSR
October Monthly Card Class:
Join me for the October Crafty Corner Monthly Online Card Club/Class. You can join the card club as a member for $39.00 a month and get all the perks of being a member or take the class for only $44.00 a month with no commitment. The featured Stamp Set for the October Club is the Great Tidings Bundle. Click here to find out all the details and to register by October 20th to get this month's kit.








0 Comments:
Post a Comment
Thanks for taking the time to leave a comment.
Much Love,
Rick