Hello and welcome to my blog; today I am feeling very tropical. So, I created a card using some very tropical items. I was inspired by some of the pictures that I had been seeing all last week of fellow demonstrators on the Stampin' Up! Incentive Trip to Maui. Here's a look at my card.
Inspiration for my projects comes from so many places. But, I found all the pictures of all the tropical flowers that my friends and fellow demonstrators on the Maui trip were sharing of the florals from Maui so inspiring that I had to create a fun tropical floral card.
Multi-inking a Background:
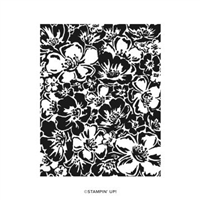
If you follow me you know that I love flowers: I stink at growing them but I love them. I think that they are beautiful and find them very inspiring. So, when I saw the Wild Roses Background Stamp I had to have it. Sadly I haven't used it enough but I pulled it out to create this fun multicolored background. I used four different colors to create this background.
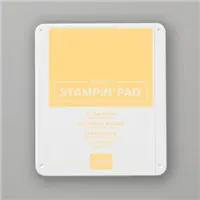
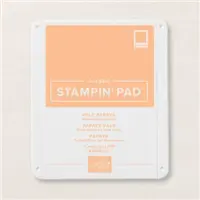
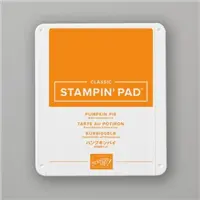
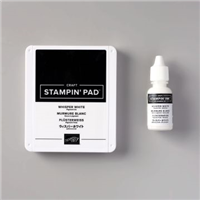
I started out by placing the background stamp into my Stamparatus so that I could stamp it a couple times if needed. Ended up only having to do it once which was good. I inked up the entire stamp with So Saffron Ink and then used Sponge Daubers to add the other colors. I started out with White Craft Ink and went around the edges of the stamp to create a lighter hue. I added Pale Papaya and Pumpkin Pie Ink to the centers of each of the flowers on the background stamp. You can see all the different colors and the control with placement the Sponge Daubers allowed.
Creating White Flowers:
White flowers are not absent of color. That's one misconception that most people make. So, I was trying to figure out how I was going to get the colored centers into the white flowers without having a muddy mess. So, I figured if the Multi-inking worked on the background why wouldn't it work with the flowers as well, but with a little twist.
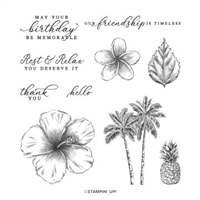
To create the white flowers I first placed the image in my Stamparatus and inked up the stamp from the Timeless Tropical Stamp Set with Sahara Sand Ink. Then I took a Sponge Dauber and removed the Sahara Sand Ink from the center. Next I inked the centers up with my Sponge Daubers with a little Pale Papaya and So Saffron Inks and stamped the entire thing to create the colorful centers and the white petals. And it worked like a charm.
Finishing Touches:
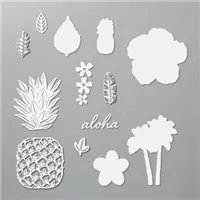
After stamping all the flowers and leaves I used the matching In The Tropics Dies to cut them all out with my Stampin' Cut & Emboss Machine (aka Bertha). I used Bertha for this instead of Bessie. I could have used Bessie (my Mini Stampin' Cut & Emboss Machine), but I already had Bertha out on the desk. I laid all the flowers and leaves out on my card front and decided on the placement of each. Next I took some Press and Seal and picked up the arrangement.
I added Multipurpose Liquid Glue to the underneath side of the leaves because I knew I wanted them to be just flat to the card. And while everything was still attached to the Press & Seal I placed everything back down on my card front and pressed it into place. I then carefully pulled the arrangement back up careful not to remove what I had attached already. I then added some more Liquid Glue to the center flower because I knew I wanted my sentiment strip to go between the other two flowers. I added Stampin' Dimensionals to the other two so that I had a couple different layers on the card. And then carefully placed the arrangement back into position and pressed everything down. By using the Press & Seal I got the perfect arrangement of flowers and leaves on my card and didn't have to fuss with putting each one down one at a time.

To finish off my card I added my sentiment strip which I stamped tone on tone. I used a strip of Pale Papaya Cardstock with the sentiment stamped in Pale Papaya Ink. I then added the die cut aloha from a scrap of So Saffron Cardstock that I had in my scrap bin. To finish everything off I added Pale Papaya Jewels to the center of each of the white flowers and sprinkled a few around the card.

Thanks for dropping by today I hope that you have a wonderful week and that you will give this fun Gift Card Money Wallet a try. If you are not on my email list make sure you sign up today to get the latest updates on my classes and events. If you need any of the supplies that you have seen today you can pick them up in my online store by clicking on the item in the Stampin' Up! Shopping List below. When you are shopping make sure that you see my name and in the topper upper left hand side of your screen in the store. If not go to your account and make sure to pick me as the demonstrator you are shopping with.
Happy Stampin'
Rick Adkins
Get the May 2021 Creative Stampers Tutorial Bundle Free with any size order in my online store or it can be purchased for $22 in my
Tutorial Store. The May Creative Stampers Tutorial Bundle features 11 masculine themed projects.
Rick’s Coffee & A Card Round 2: Round 2 runs from June 4, 2021 through July 2, 2021 You will need to place your orders by June 18, 2021 to receive the Round 2 Card Kits. Video Tutorials will be Live on my YouTube Channel each Friday, at 11:30 am CST.
Join me each week for Coffee & A Card on my YouTube Channel!
Place a $44 order before shipping and taxes using this month's Coffee & A Card Host Code CKPEVJ37. You will have to use the Coffee & A Card Host Code in order to get the card kits. Card Kits are available until June 18, 2021 (or while supplies last). I will send you the card kits to make all five Coffee & A Card projects Free as a thank you gift. Kits will be mailed to the address that is on the order. Additional Items Needed: https://s.tamp.in/_QZLi0
Shopping Link with Round 2’s Host Code: https://www.stampinup.com?hostcode=CKPEVJ37
Just a little reminder that I can only ship within the United States.
Sign ups for my Sow Creativity Class are now closed but the tutorial is available in my
Tutorial Store now.
Stampin' Up! Shopping List:










0 Comments:
Post a Comment
Thanks for taking the time to leave a comment.
Much Love,
Rick