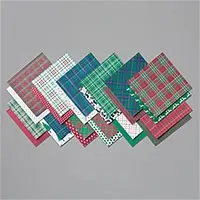
Hello and welcome to my blog; I hope that you are having a great day. I am going to share with you how to make a Gnome Card for Christmas without using a die. Yes, you can create your own super cute Gnome card without a die; it just takes a little planning and cutting some paper. But, don't be afraid I promise it's super easy as you will see in the video tutorial. I used the Wrapped in Plaid designer series paper for my card today. Here's a look at my card.
Tips & Tricks:
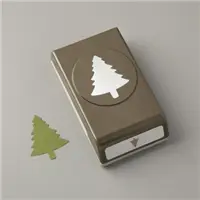
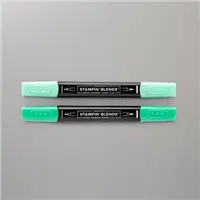
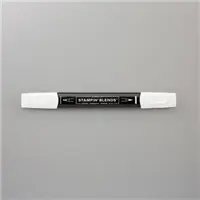
Gnomes are super trendy now and surprisingly Stampin' Up! doesn't have a Gnome stamp set or matching dies. So I had watched a few YouTube videos on the dies that came out recently from another company and thought I can make my own. So I started out with the Tree punch and punched out his beard. To make it look more like a beard I used my Stampin' blends to do some wispy lines and a little blending to make it look more realistic.Next I used the "beard" to measure and draw out a little template for the body and hat. I just laid down the tree and went from the each end and made a ovalish shape. For the hat I just did a simple santa hat shape but with a longer top more like a sleeping cap from A Christmas Carol. As I am looking at the body now I am thinking I could have just used a oval die or punch and snipped off the bottom. So if you don't want to draw out a simple template you totally could use that for a body. After I sketch this out on some scrap cardstock I just cut it out with my snips and traced around it on my designer series paper. I am using the Wrapped in Plaid Designer Series Paper today on my card.
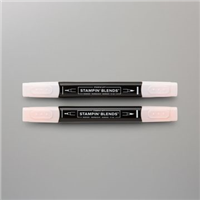
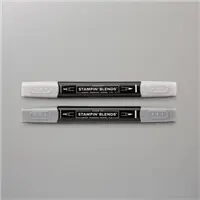
There's a lot of great patterns in this pack of paper, but you can use any you may have on hand. You can find a ton of different patterns to make your own cute little gnomes. Once I had the hat and body cut out I used my blends to add just a little shading to both. I then punched out two circles using the 1/2" circle punch from Whisper White Cardstock. One was colored with Petal Pink for the nose and one was colored with Smoky Slate for the ball at the end of the hat. So once all that was done I had all my Gnome pieces ready to go.
All of the pieces of the Designer Series Paper for this card can be pulled from your scraps if you want. Once I had everything cut and ready to go it was time to assemble. I used a little snail adhesive to put everything together and then secured it on the back with some Stampin' Dimensionals. This also allowed for my little Christmas Gnome to be raised off the card.
Sizes and Dimensions:
- Cardbase - Whisper White Thick Cardstock 4 1/4 x 11 scored at 5 1/2
- Mat #1 - Shaded Spruce 5 3/8 x 4 1/8
- Mat #2 - Cherry Cobbler 4 x 5 1/4
- Card front - Whisper White 3 3/4 x 5
- Gnome - Scraps of Wrapped in Plaid DSP, Whisper White
- Sentiment Strip - scrap that's 5/8" x 3/3/4
- DSP layer - 1 3/4 x 5
- DSP mat - Cherry Cobbler or Shaded Spruce 2 x 5
Video Tutorial:
If you are viewing this post by email you may have to click here or the image below to watch the video.
Thanks for dropping by today I hope that you find this post helpful and that you have fun making your own little Gnome for your cards this holiday season.
Happy Stampin'
Rick Adkins
If you live in the US. I would love you to
choose me as your demonstrator. If you would like to purchase any of
these products you can click on the Shop Now Button or by clicking on any of
the images below. Alternatively, you can also contact me by email to
place your order. Please be sure to use the monthly host code and I’ll
send a little something out to you the following month to say Thank
You!









0 Comments:
Post a Comment
Thanks for taking the time to leave a comment.
Much Love,
Rick