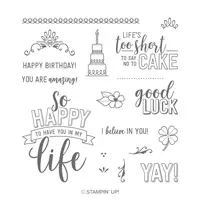
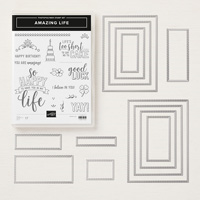
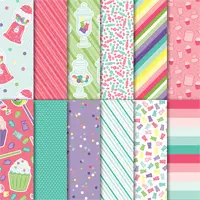
Hello and welcome to my blog and this month's OSAT Blog Hop. Out theme this month is Bring On The Birthdays. This is a super fun theme this month and I have a couple projects for you that are super colorful and perfect for anyone's birthday. For my projects I used the Amazing Life stamp set and the How Sweet It Is Designer Series Paper. Here's a look at the projects that I created.
I used a lot of the How Sweet It Is Designer Series Paper for these projects. I picked some of my favorite designs from the pack of paper to create these projects. I started out by creating my card and then moved on to creating the stacked sweet cups. Let's have a closer look at each project shall we.
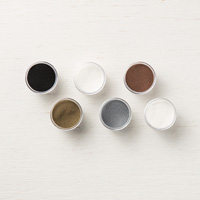
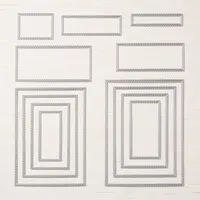
 For my card I used the rainbow strip of dsp (designer series paper) and stamped the sentiment and cake image in versamark and then sprinkled it with White Stampin' Emboss Powder. I then heat set it and then decided that I didn't like it. So I placed it in my Stamparatus and lined it up but off set just a little to create a shadow. I then inked up the images again and used Black Stampin' Emboss Powder this time to create a much bolder image. I then stamped the Happy Birthday Sentiment in versa mark on a piece of basic black cardstock. I then heat embossed that using my heat tool and the white stampin' emboss powder. One I had everything embossed I used the Stitched Rectangle Dies to cut the basic black mat the designer series paper and sentiment out. These framelits are by far one of my favorite and think that they are the best addition to the line up that we have had in awhile. I then put everything together and added it to my Highland Heather card base. I popped the sentiment up on stampin' dimensionals and added a few rhinestones to add a little bling. I added a piece of whisper white to the inside with a strip of the same designer series paper to tie the inside to the outside.
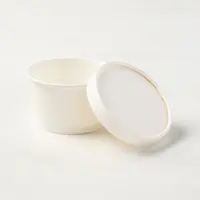
 I secured the designer series paper with tear & tape to the back where the seems met. I then added small strips of ribbon or designer series paper to the top lids of two to the cups. And added circles of designer series paper to the top of each. After filling each one with different little treats. It was time to stack them to make the Treat cup tower.
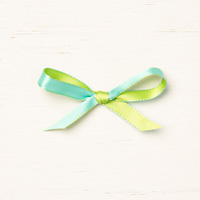
To do that I simply stacked them on top of each other and then took the coastal cabana and granny apple green ribbon. A good length of it probably about 18 to 20 inches and wrapped it around. When I got up to the top I tied a simple knot and then tied a bow. The knot was needed to secure the treat cups into place. I found that it wasn't as easy as you think to actually do this. The stacked cups move around very easily so if you had another set of hands you could make fast work of this simple and easy project, without them moving around. That was the hardest thing about this project. Not the wrapping or cutting or figuring what paper to use. That was all easy especially the what papers to use: Stampin' Up! makes that super easy for us with each product having the perfect color coordination.
Thanks for dropping bye today, and I hope that you have enjoyed my little projects. If you need any of the supplies that you have seen today you can get them in my online store 24/7 by clicking on the item in my Shopping List below. I know that you will have a wonderful time hopping along with the rest of the design team. I know that they have created some wonderful projects for you. You will find the full list below under the blog roll; unless you are on my wordpress site. If you are on my wordpress site you will have to click here to see the blog roll. If you are on my wordpress site you may want to follow me on my new sight all of which you can do when you click the link above.
Happy Stampin'
Rick









I love this suite and you did a great job with the papers! Very bright and cheery!
ReplyDeleteThanks Candy. It’s how I roll. Lol
DeleteSo bright a fun! The perfect birthday treat!!
ReplyDeleteWow! You go the extra mile decorating the container covers, etc. in addition to making a card. All are so brightly colored and eye-catching. Super job!
ReplyDeleteThanks Sheila I feel that if I didn’t do the top then that’s naked real estate that could have been pretty
DeleteEverything is so bright and cheery. Love the ideas of the stacked sweet cups.
ReplyDeleteThanks I love bright and cherry
DeleteGo bright or go home right? Love it!
ReplyDeleteSo bright and cheery! Love it!
ReplyDelete